


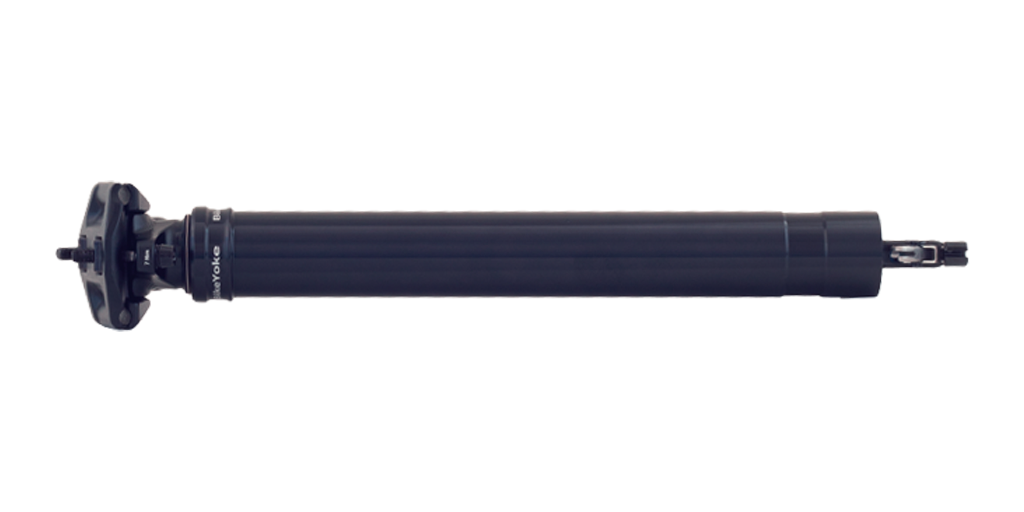
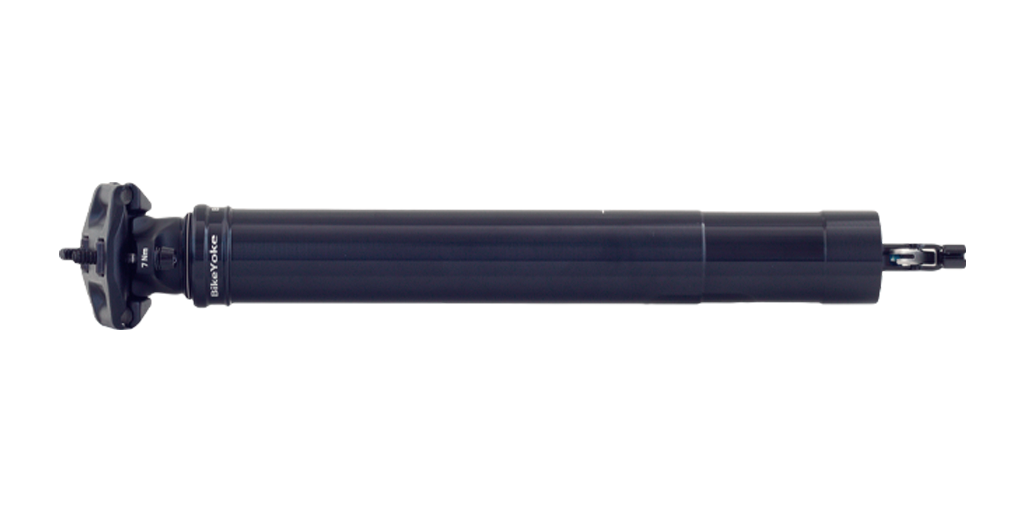
small service REVIVE/DIVINE - lower tube
NOTE: For the small service, it is not necessary to release the pressure from the seatpost.
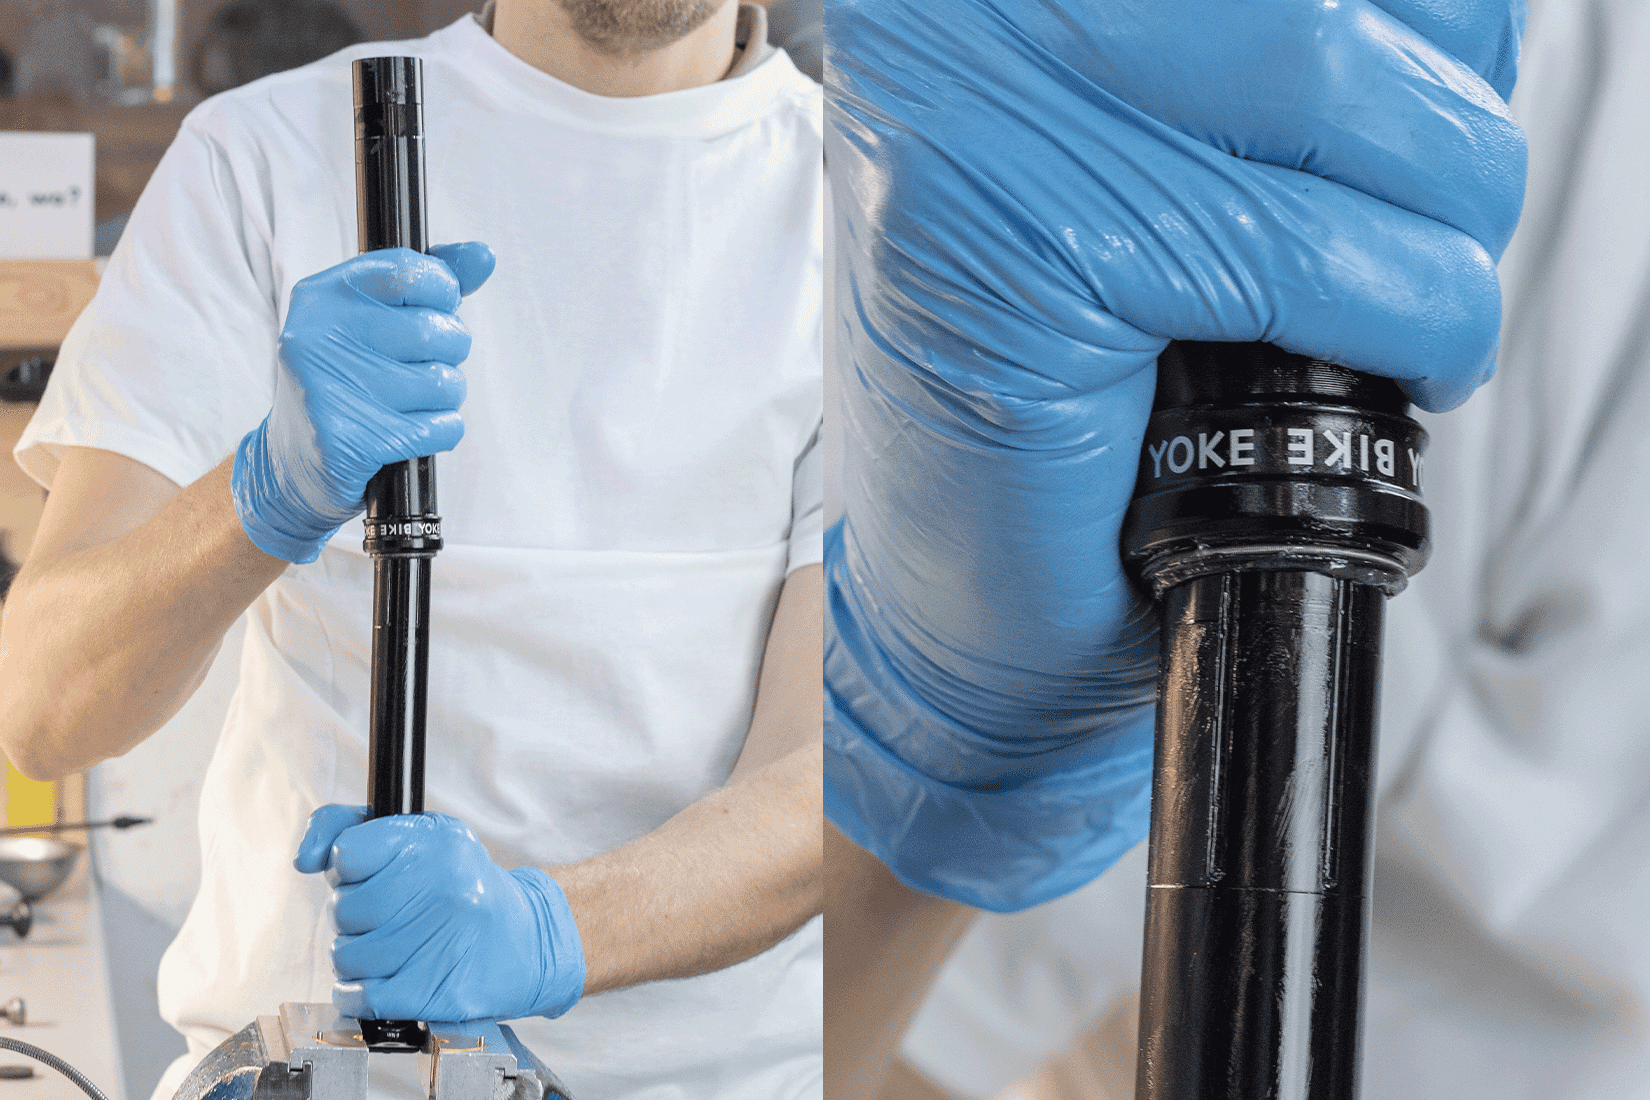
1.
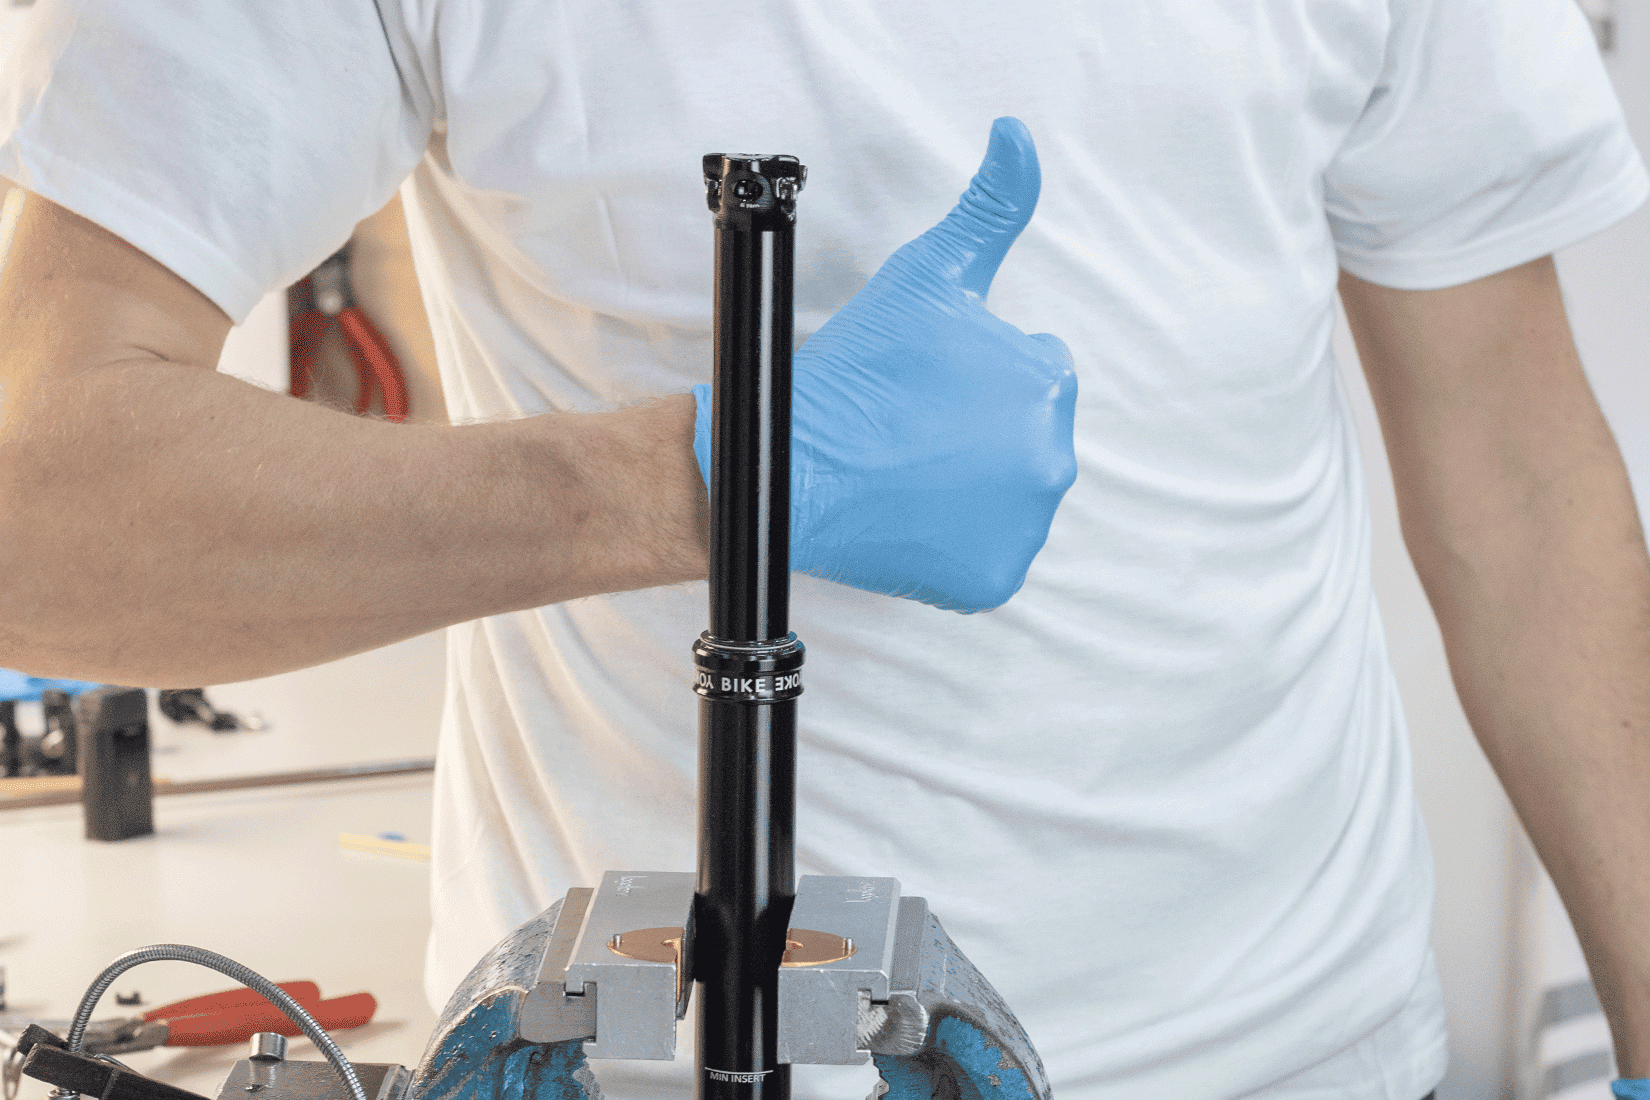
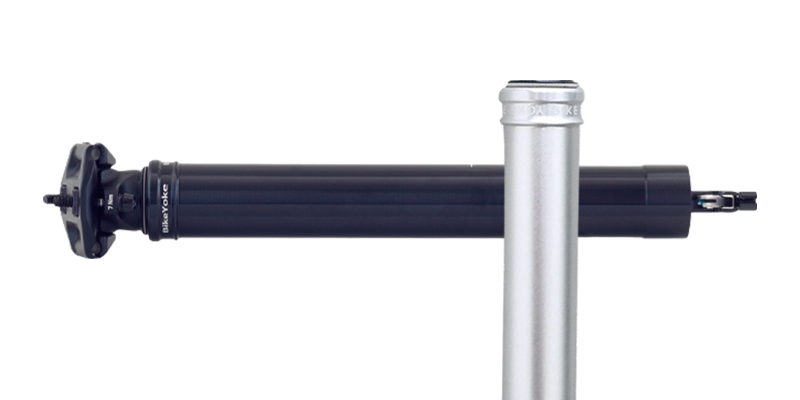
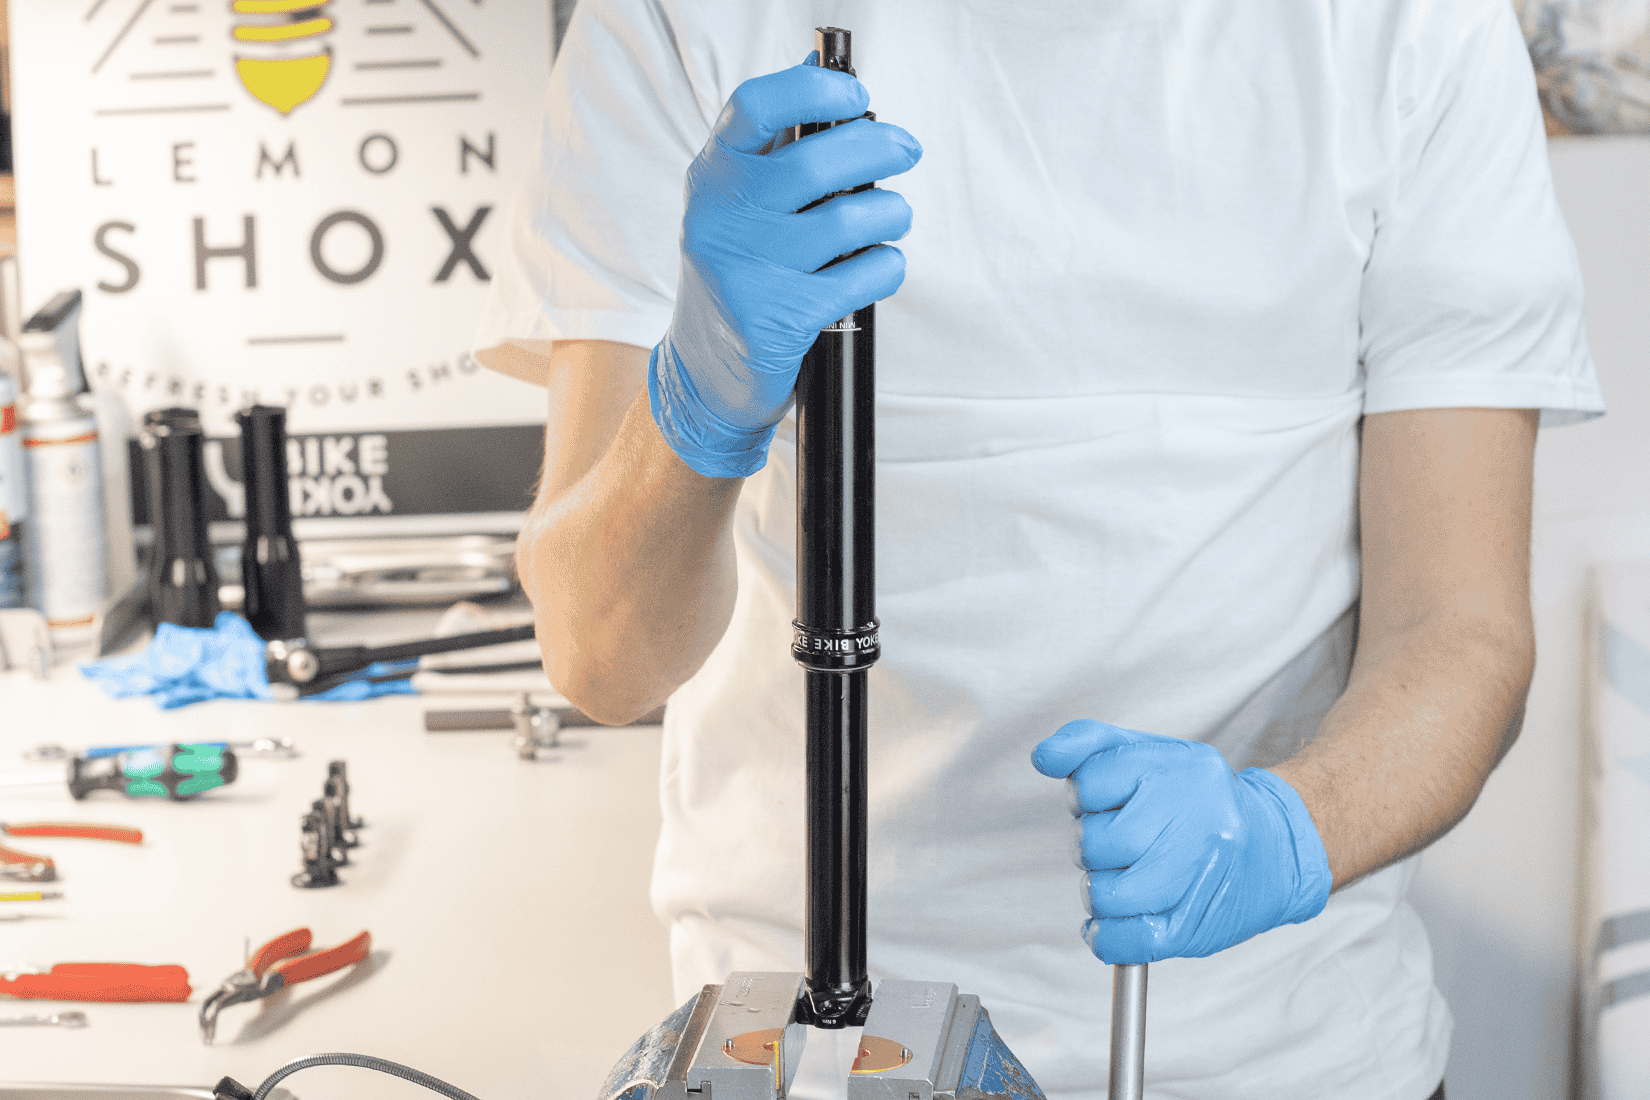
Turn the seatpost upside down so that the foot unit is pointing upwards and use a suitable tool (e.g. a vise with suitable clamping plates or a bicycle stand) to fix the seatpost to make it easier to remove the circlip.
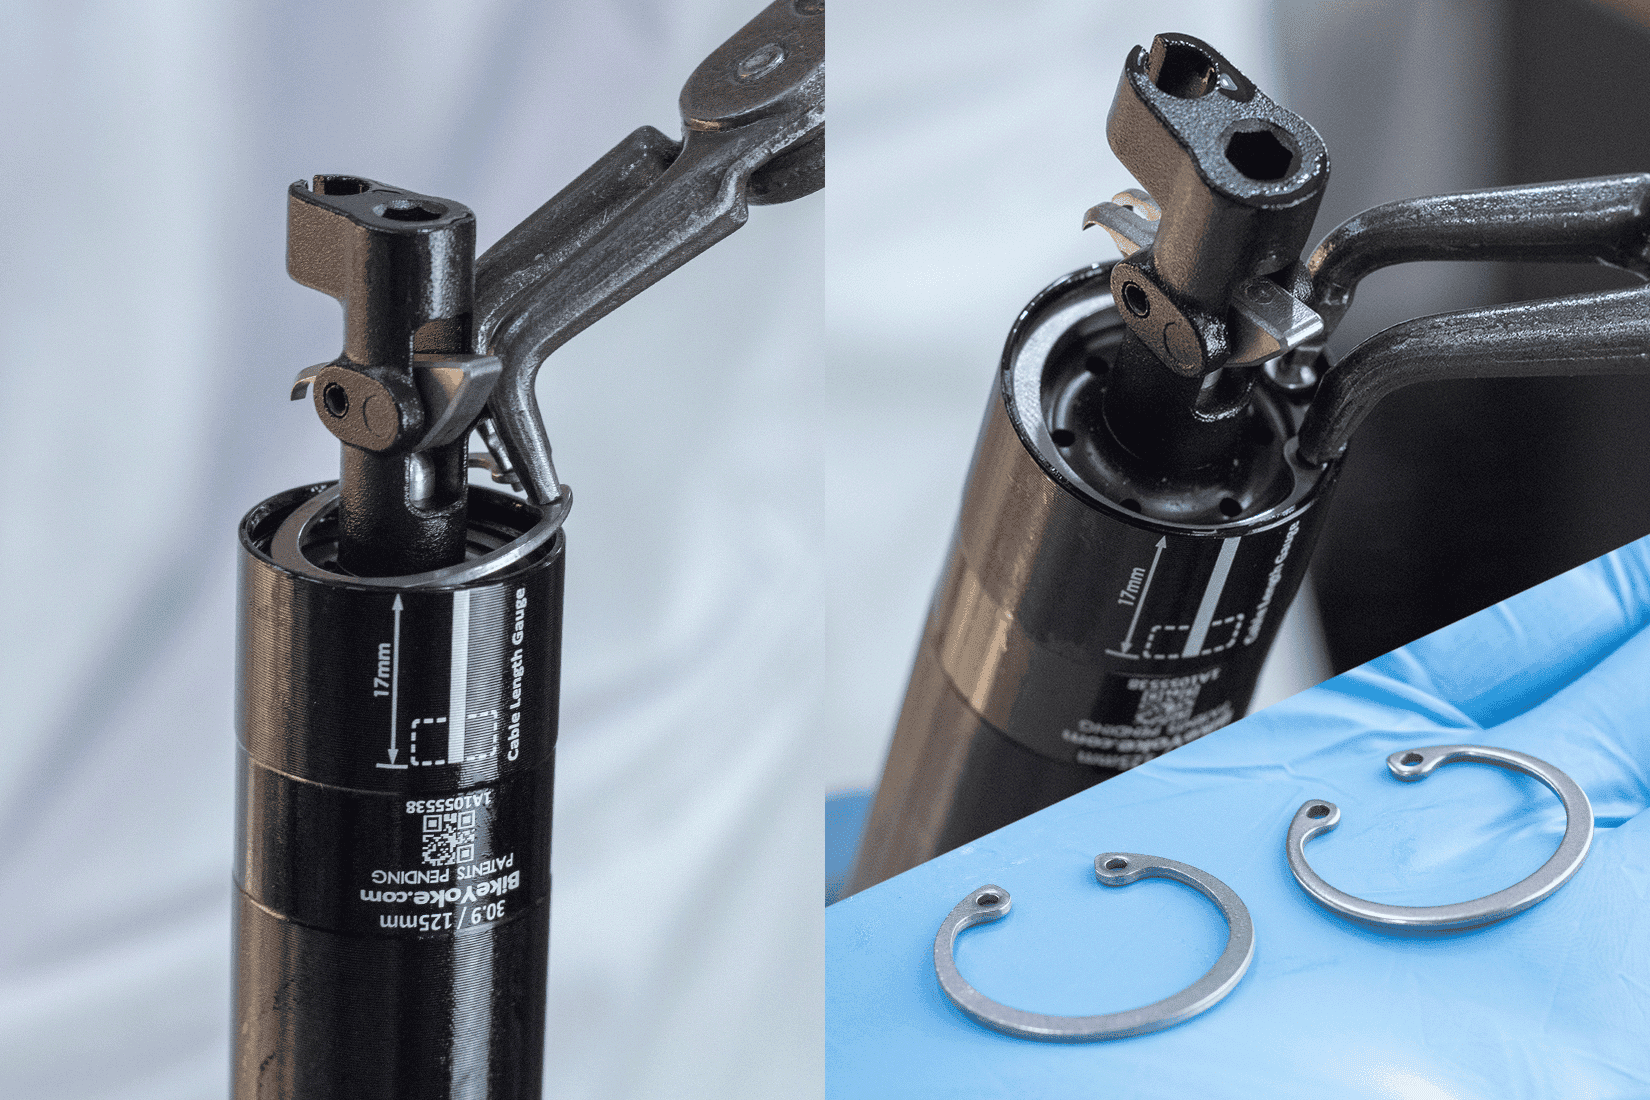
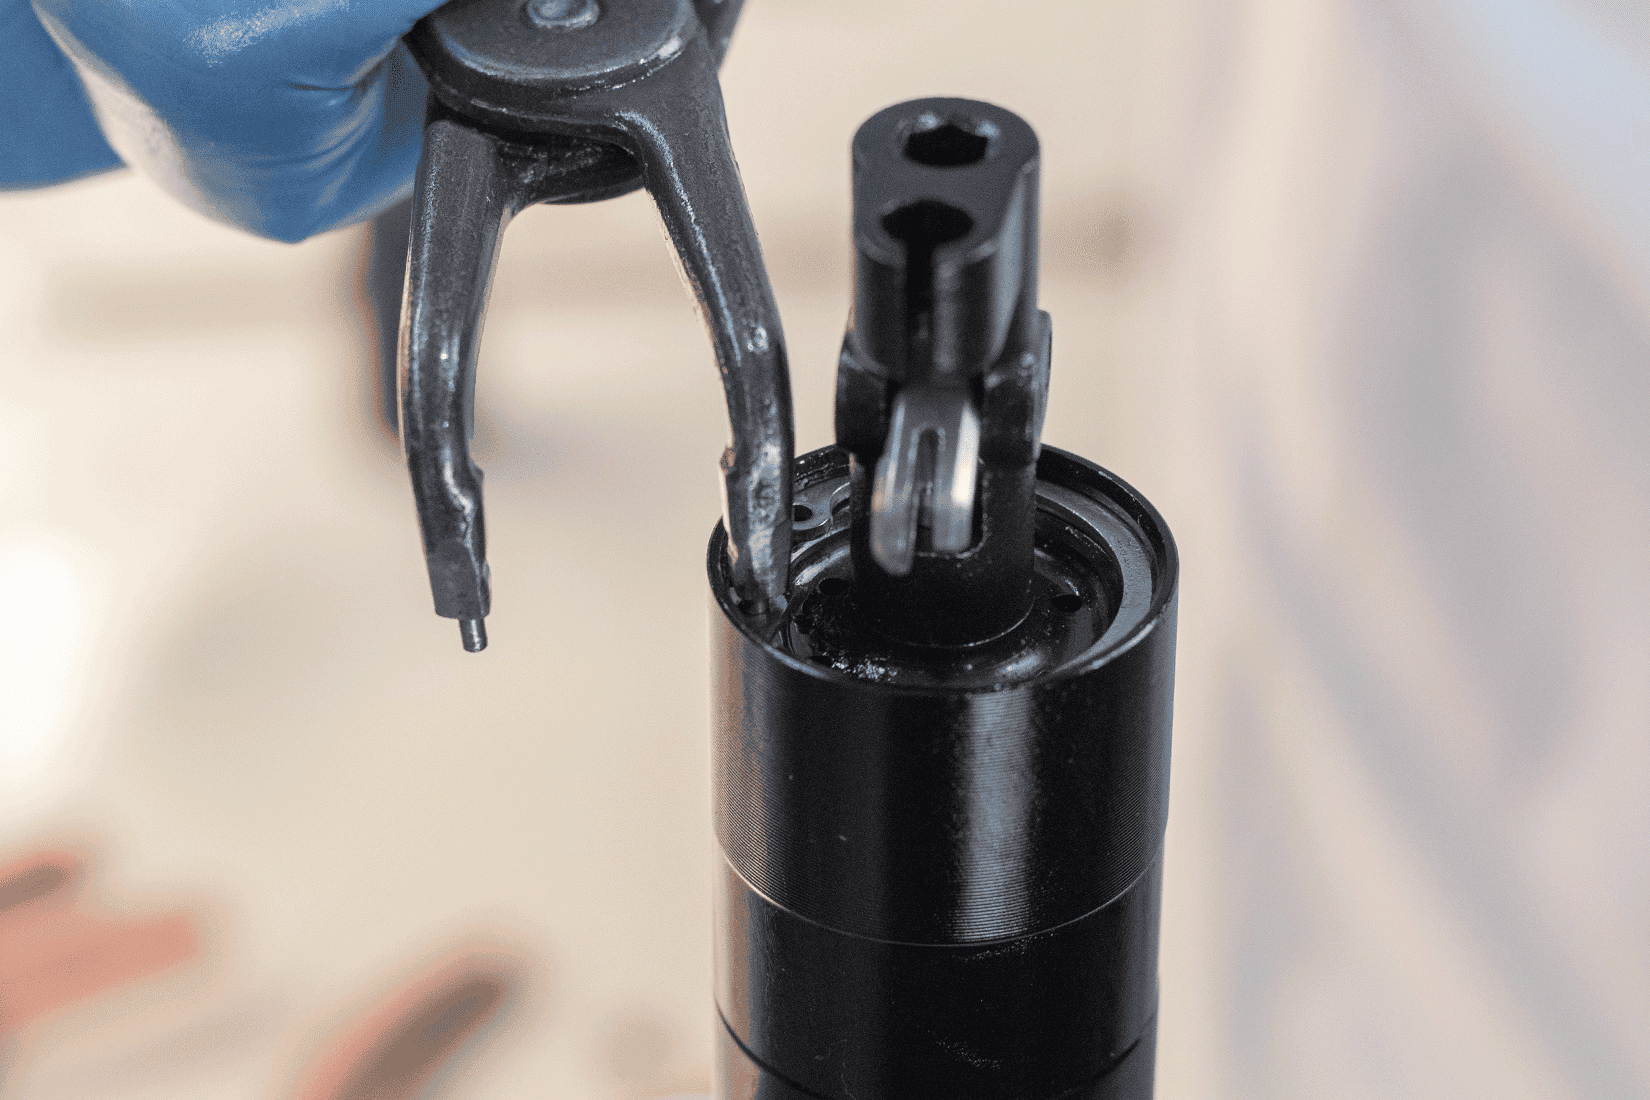
2.
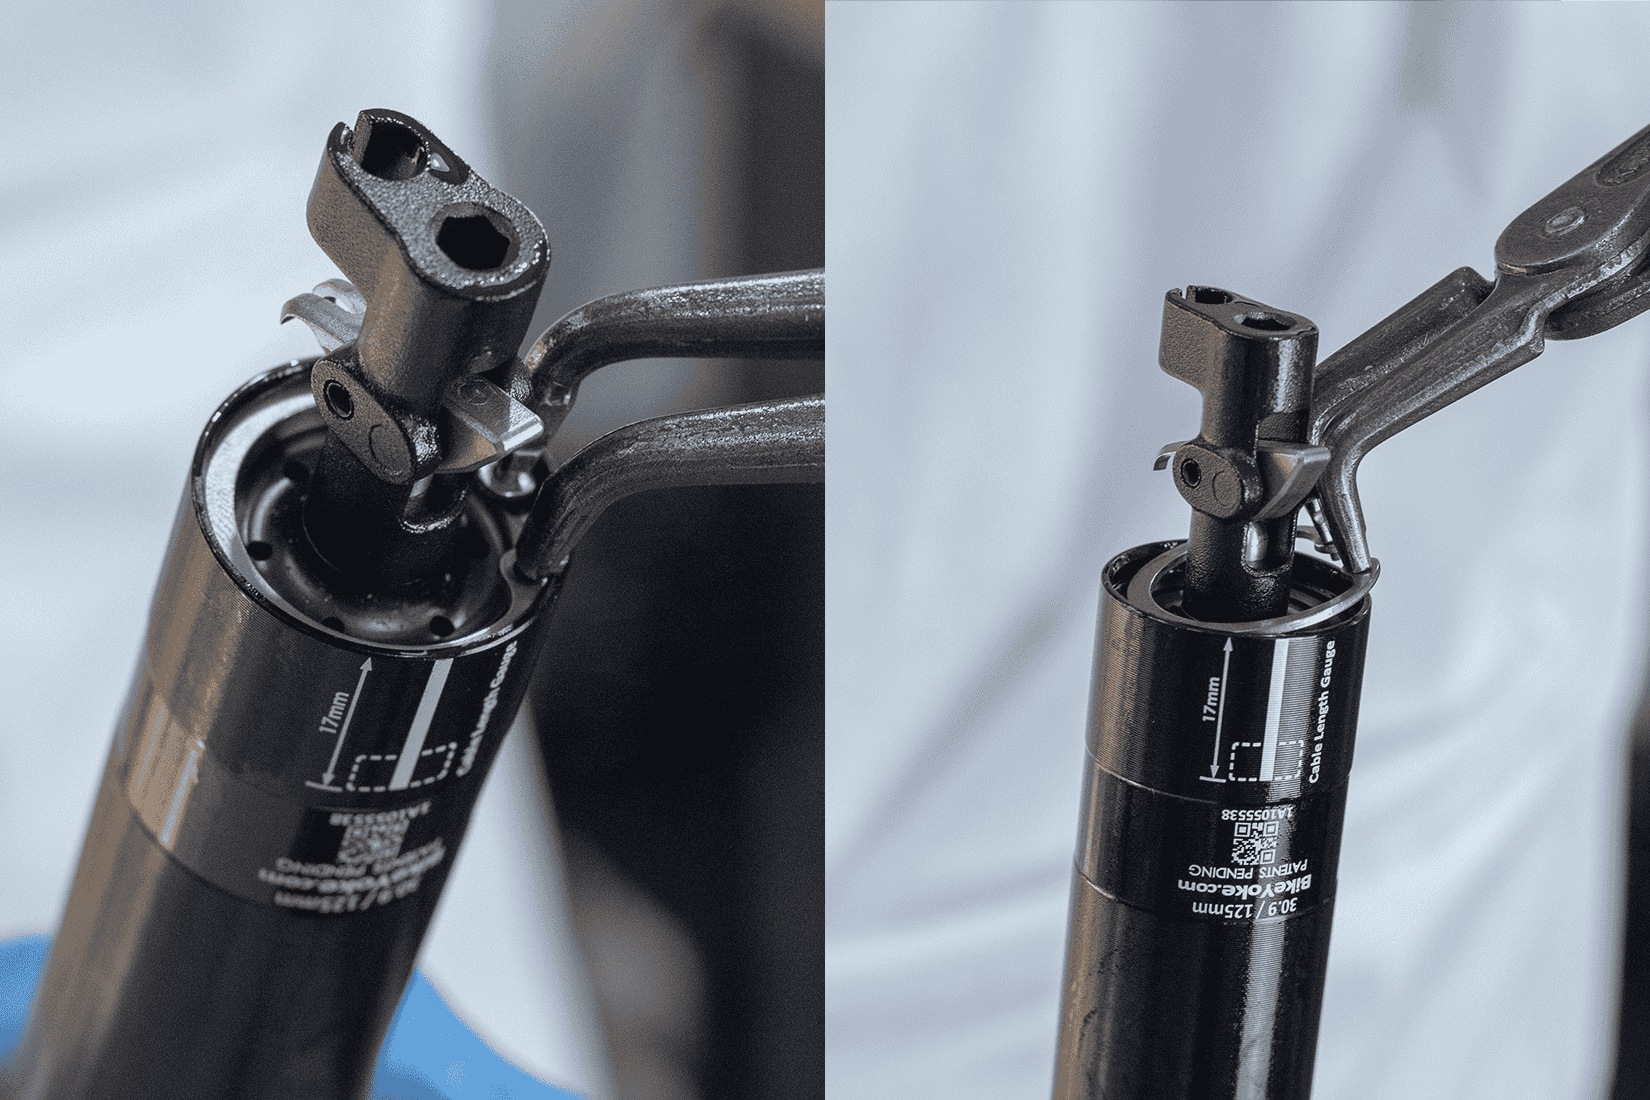
Use a circlip pliers to remove the locking ring (DIN427 R28) from the seat in the lower tube.
Tool recommendation: Knipex 48 21 J21 19-60 mm for inner rings
3.
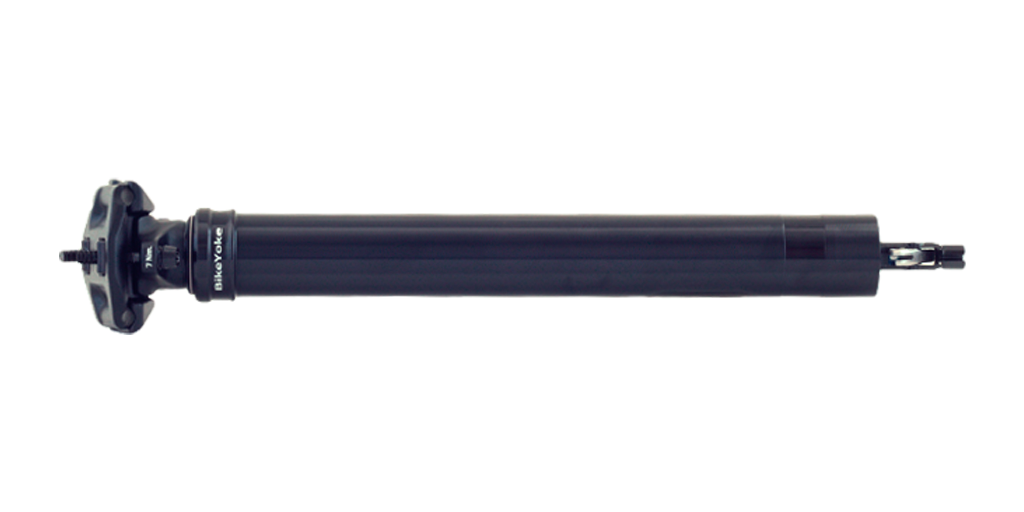
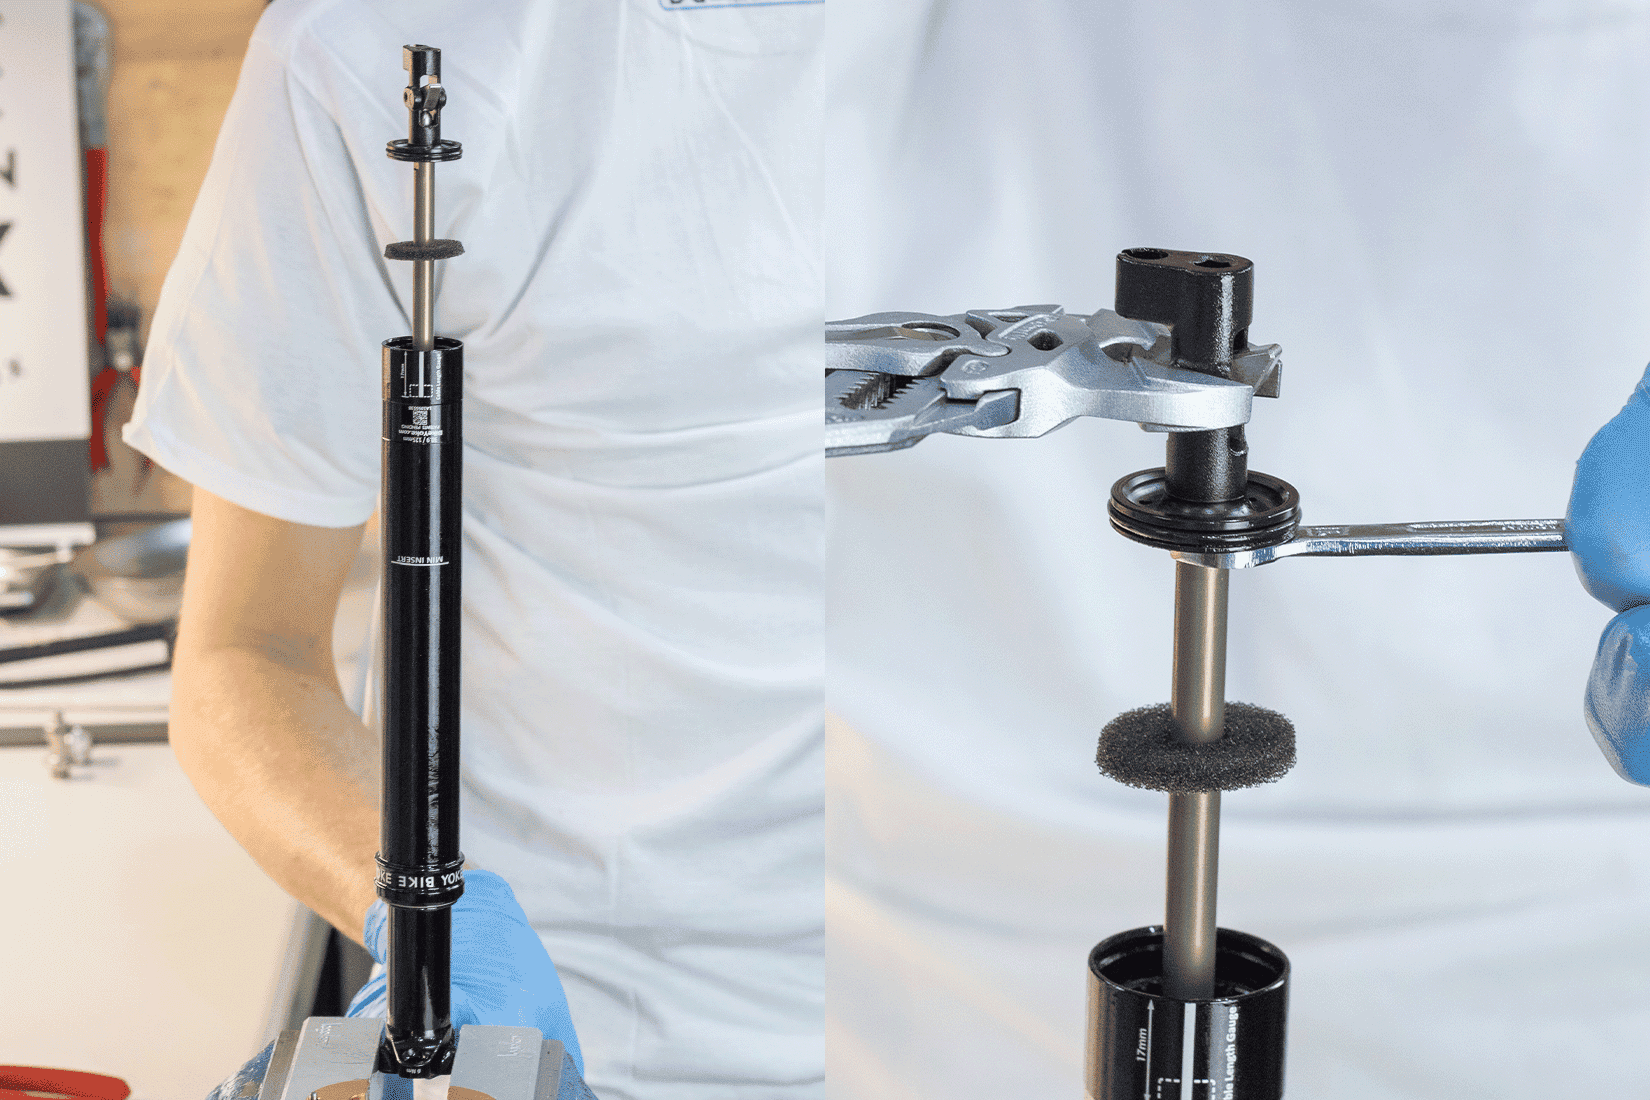
Slide the lower tube all the way towards the dropper head and loosen the foot from the piston rod by turning it anti-clockwise using a suitable 7 mm and 13 mm open-end spanner.
Tool tip: Knipex pliers spanner 86 03 125 and 86 03 180
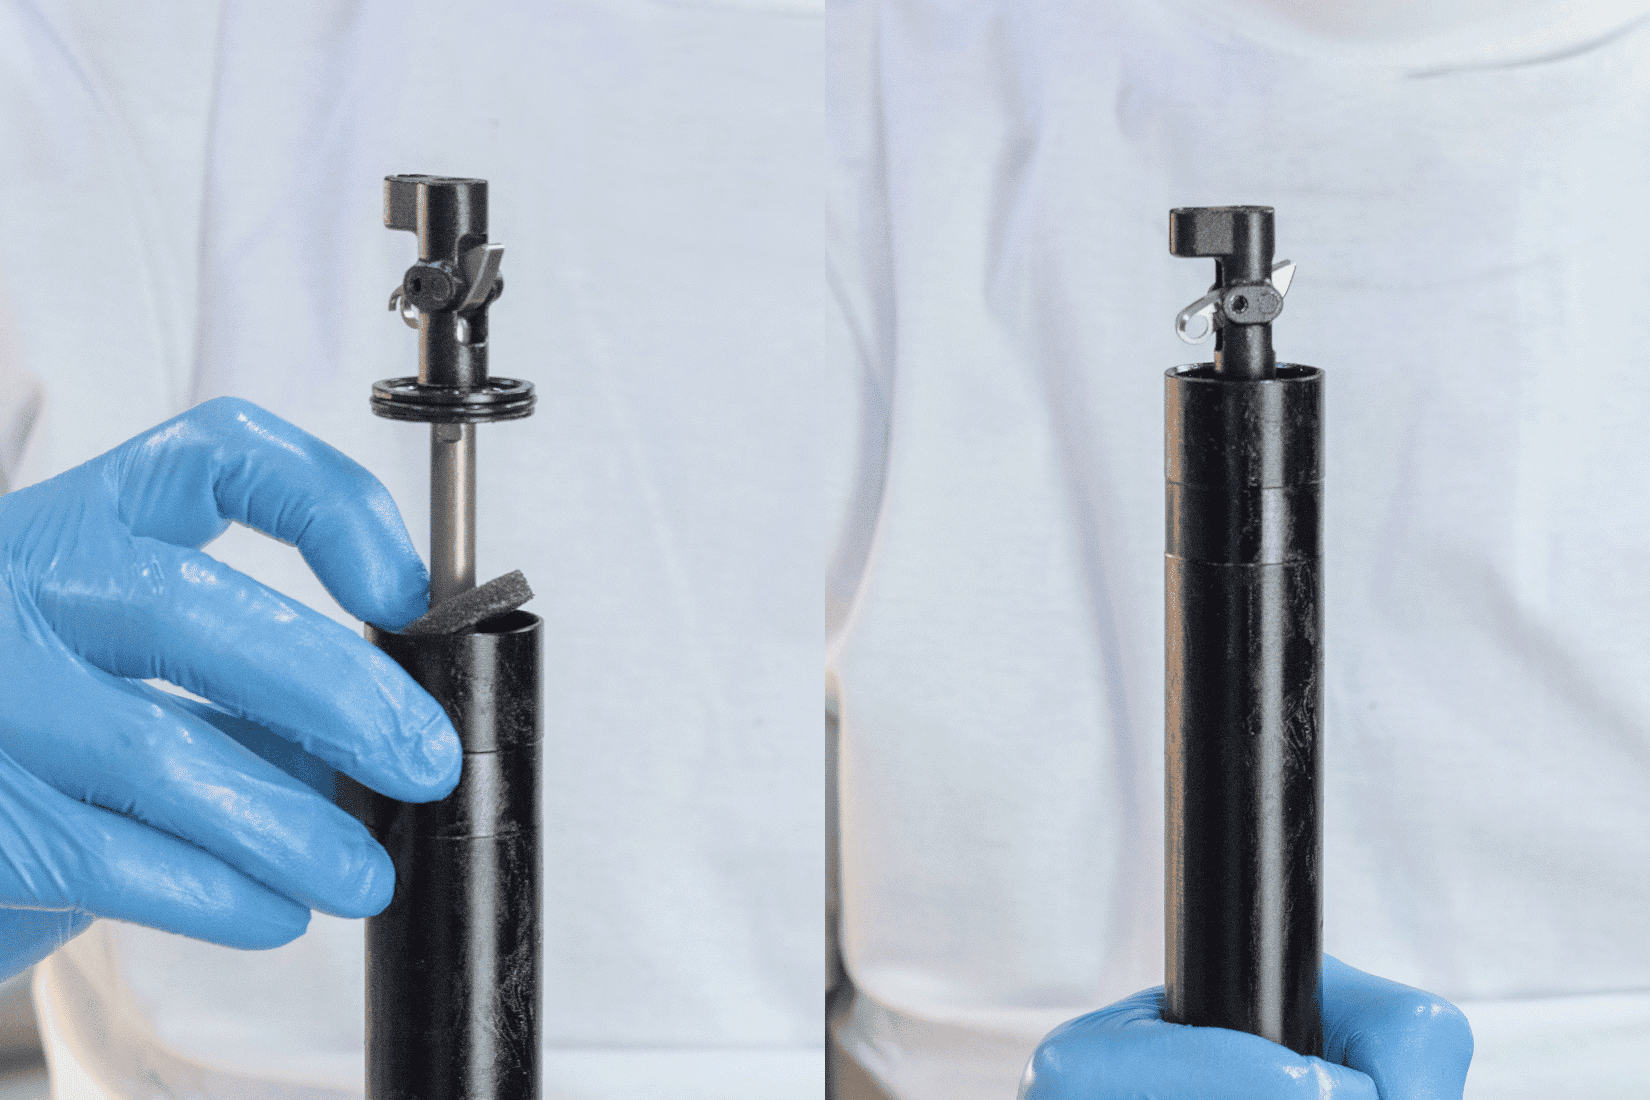
4.
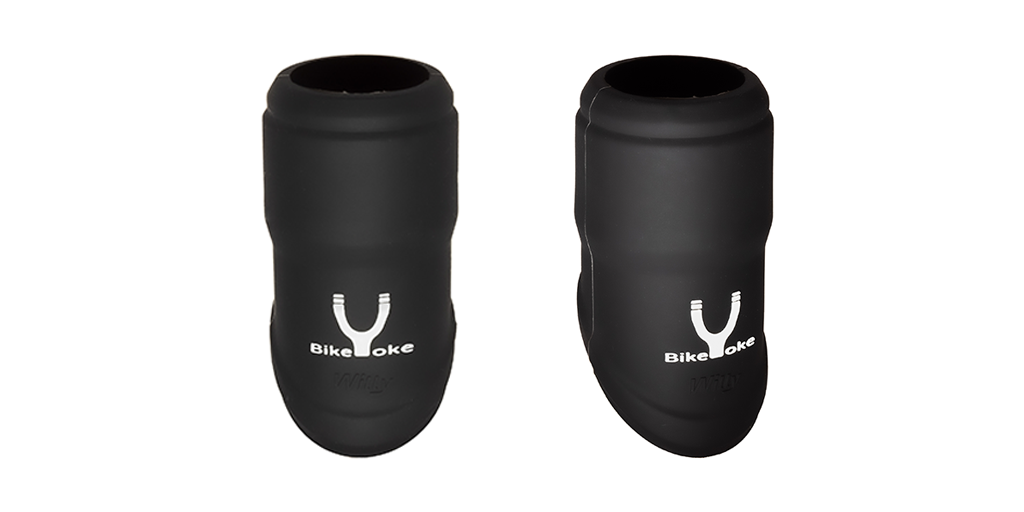
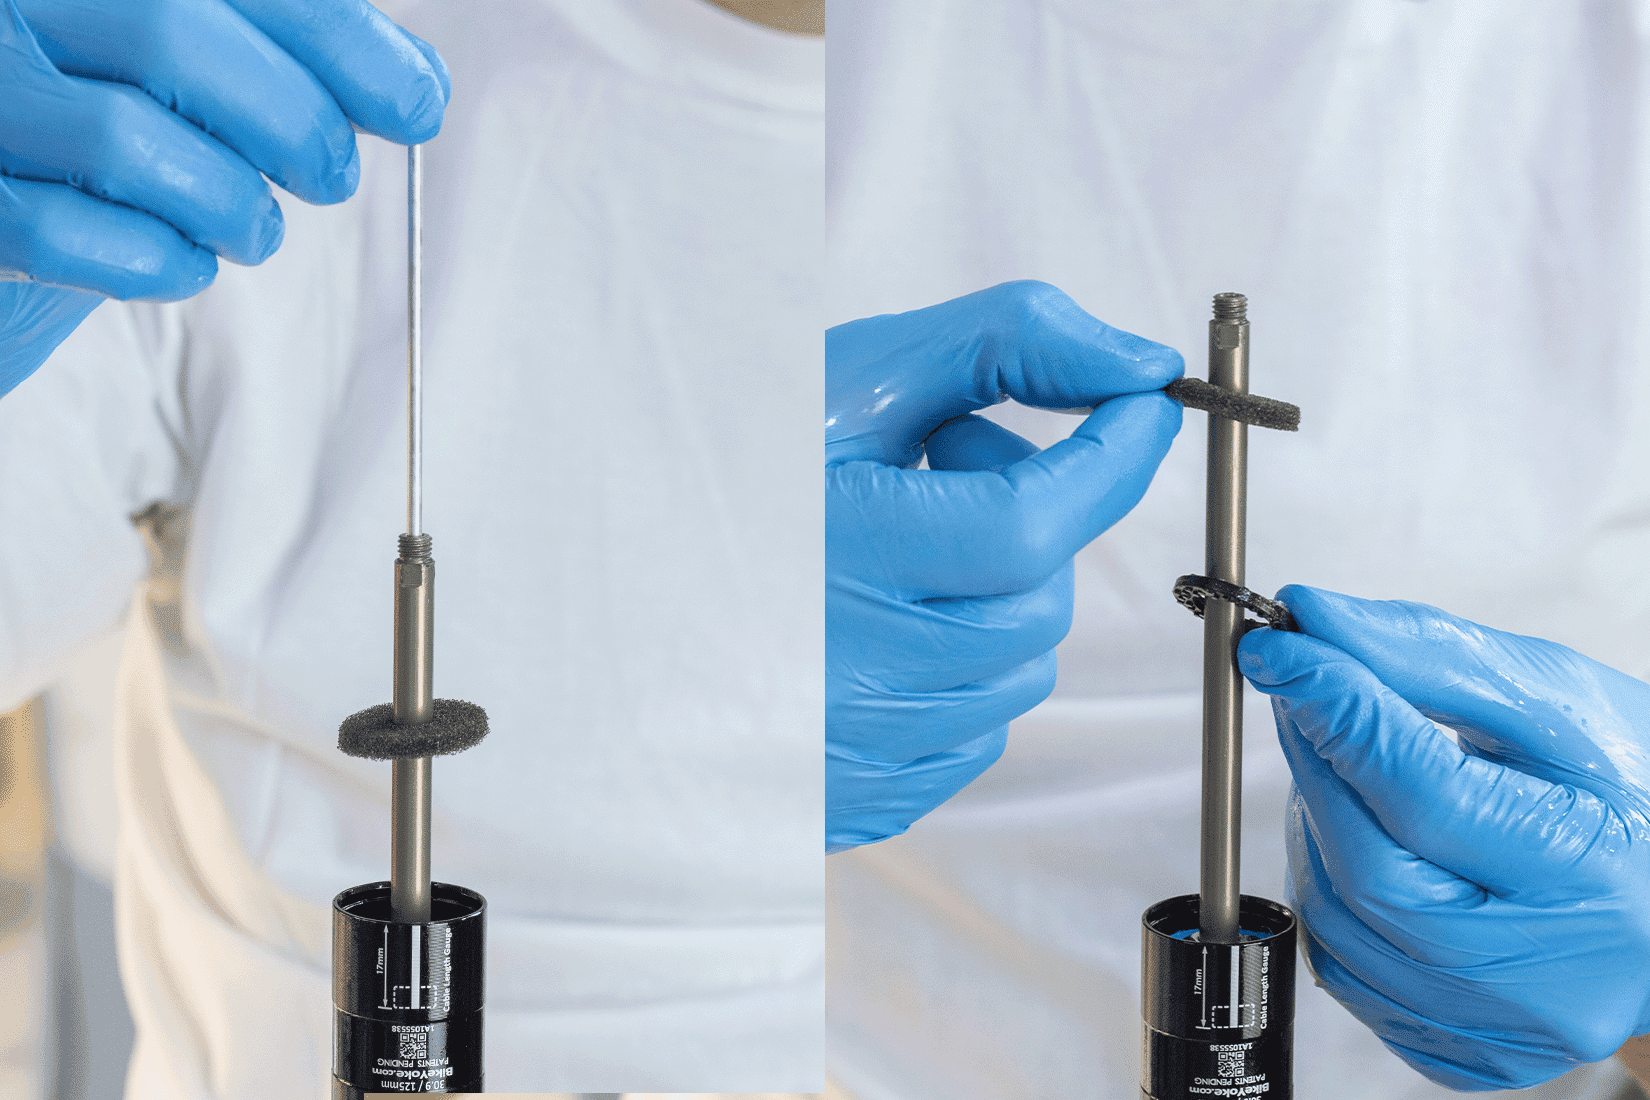
Remove the actuator rod, the foam ring and the bottom-out-bumper.

5.
Now loosen the circlip (DIN471 S12) from the lower bushing.
TIP: To protect the piston rod from damage, we recommend taping the area that the pliers may come into contact with.
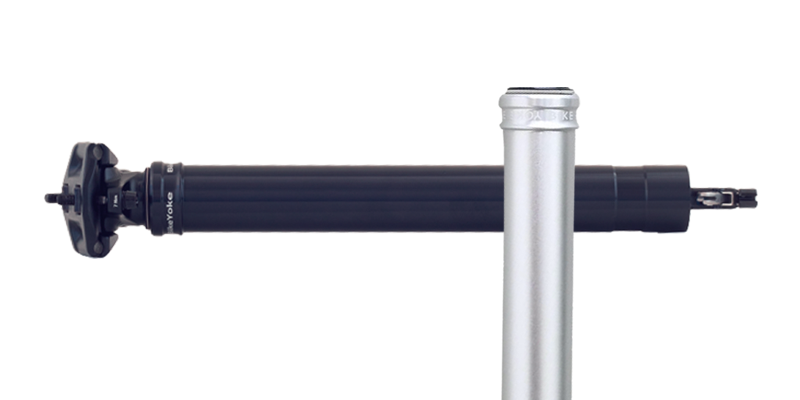
The lower tube can then be removed.
Tool recommendation: Knipex 49 21 A11 10-25 mm for outer rings
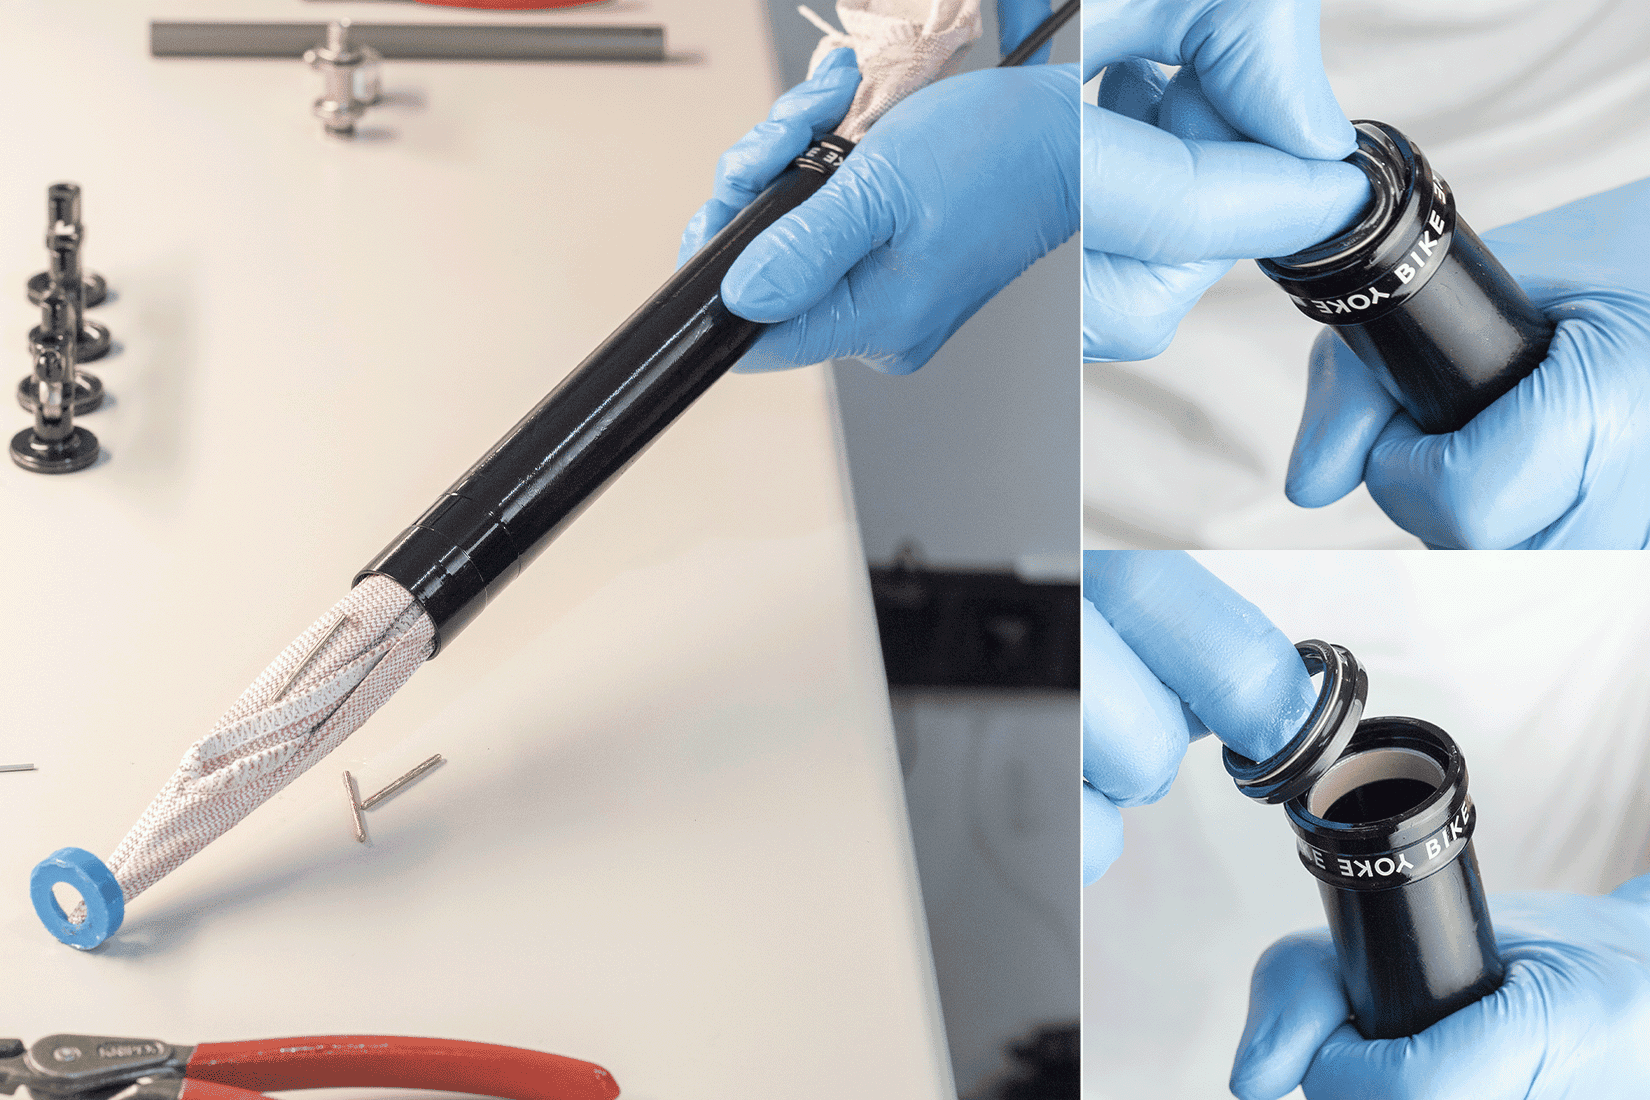
6.
Remove the lower bushing, the 6 guiding pins and the wiper from the lower tube.
NOTE: If a blue bushing is installed, it should not be reinstalled, but replaced with a new grey bushing, which is included in service kit #3.1.
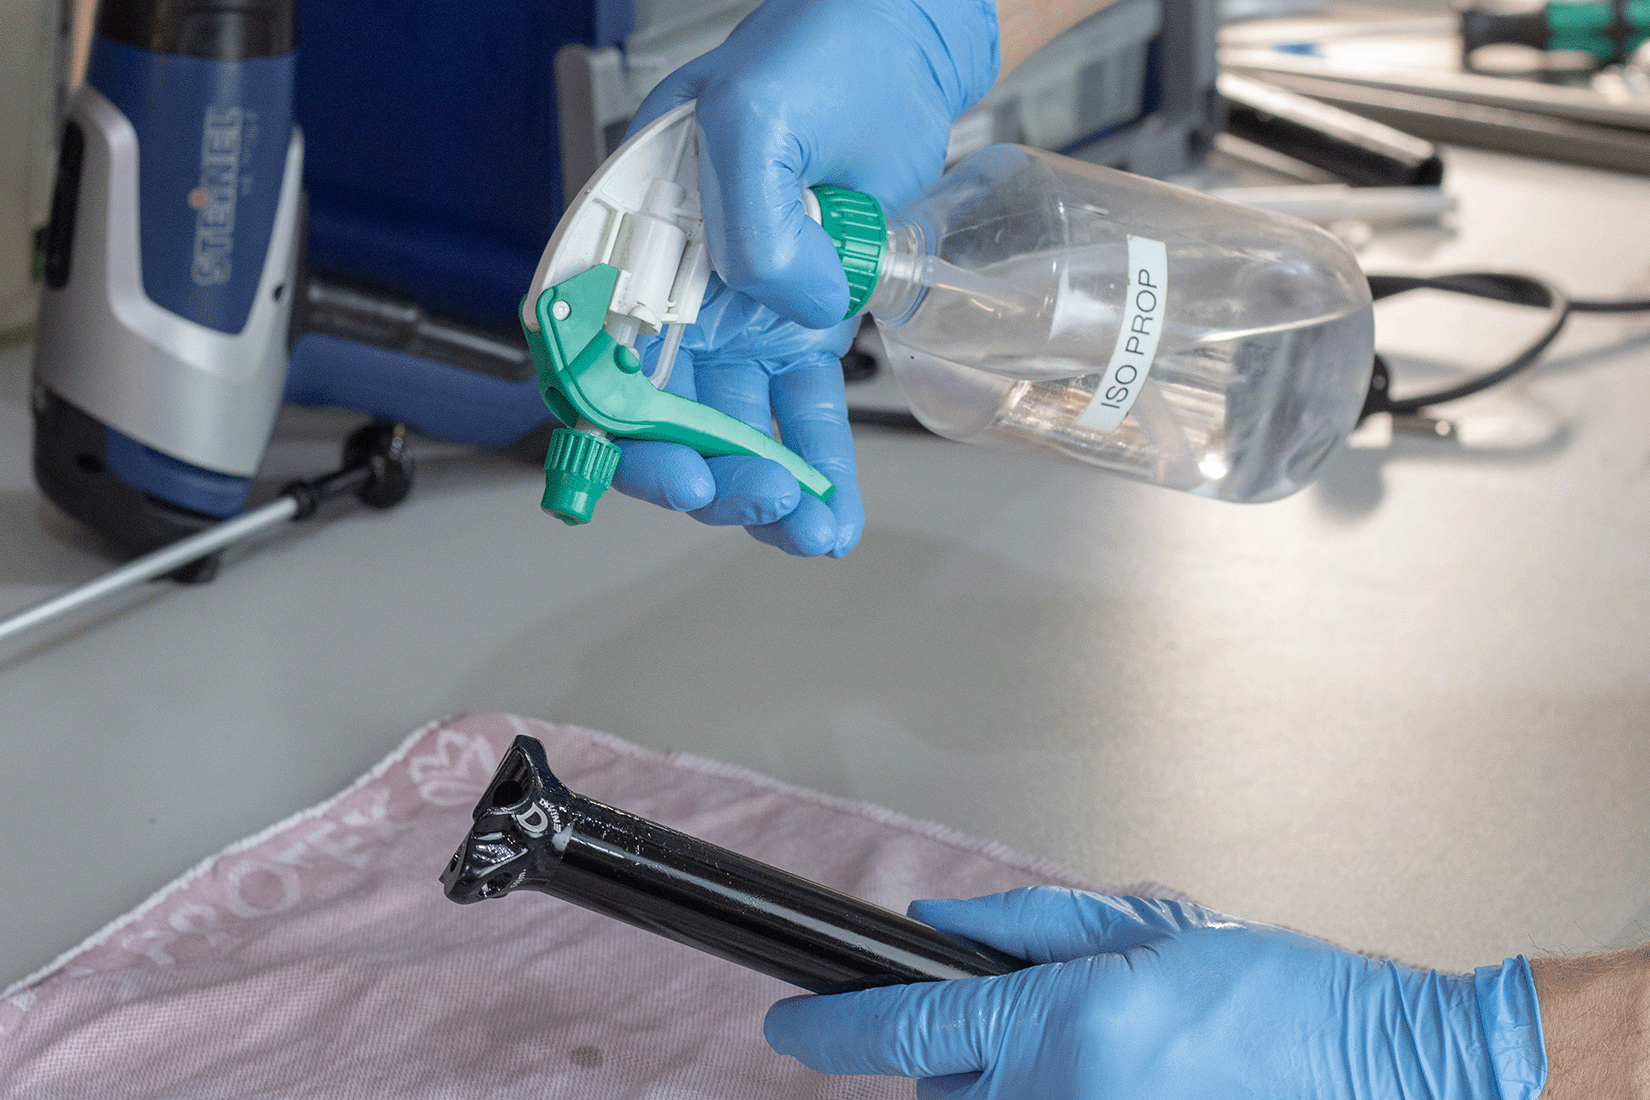
7.
Clean all parts thoroughly with a soft cloth and isopropanol to remove dirt, grease residues and moisture.
NOTE: If parts are defective or worn, they should be replaced with new ones. All common parts that should be replaced during this service are included in our service kits.
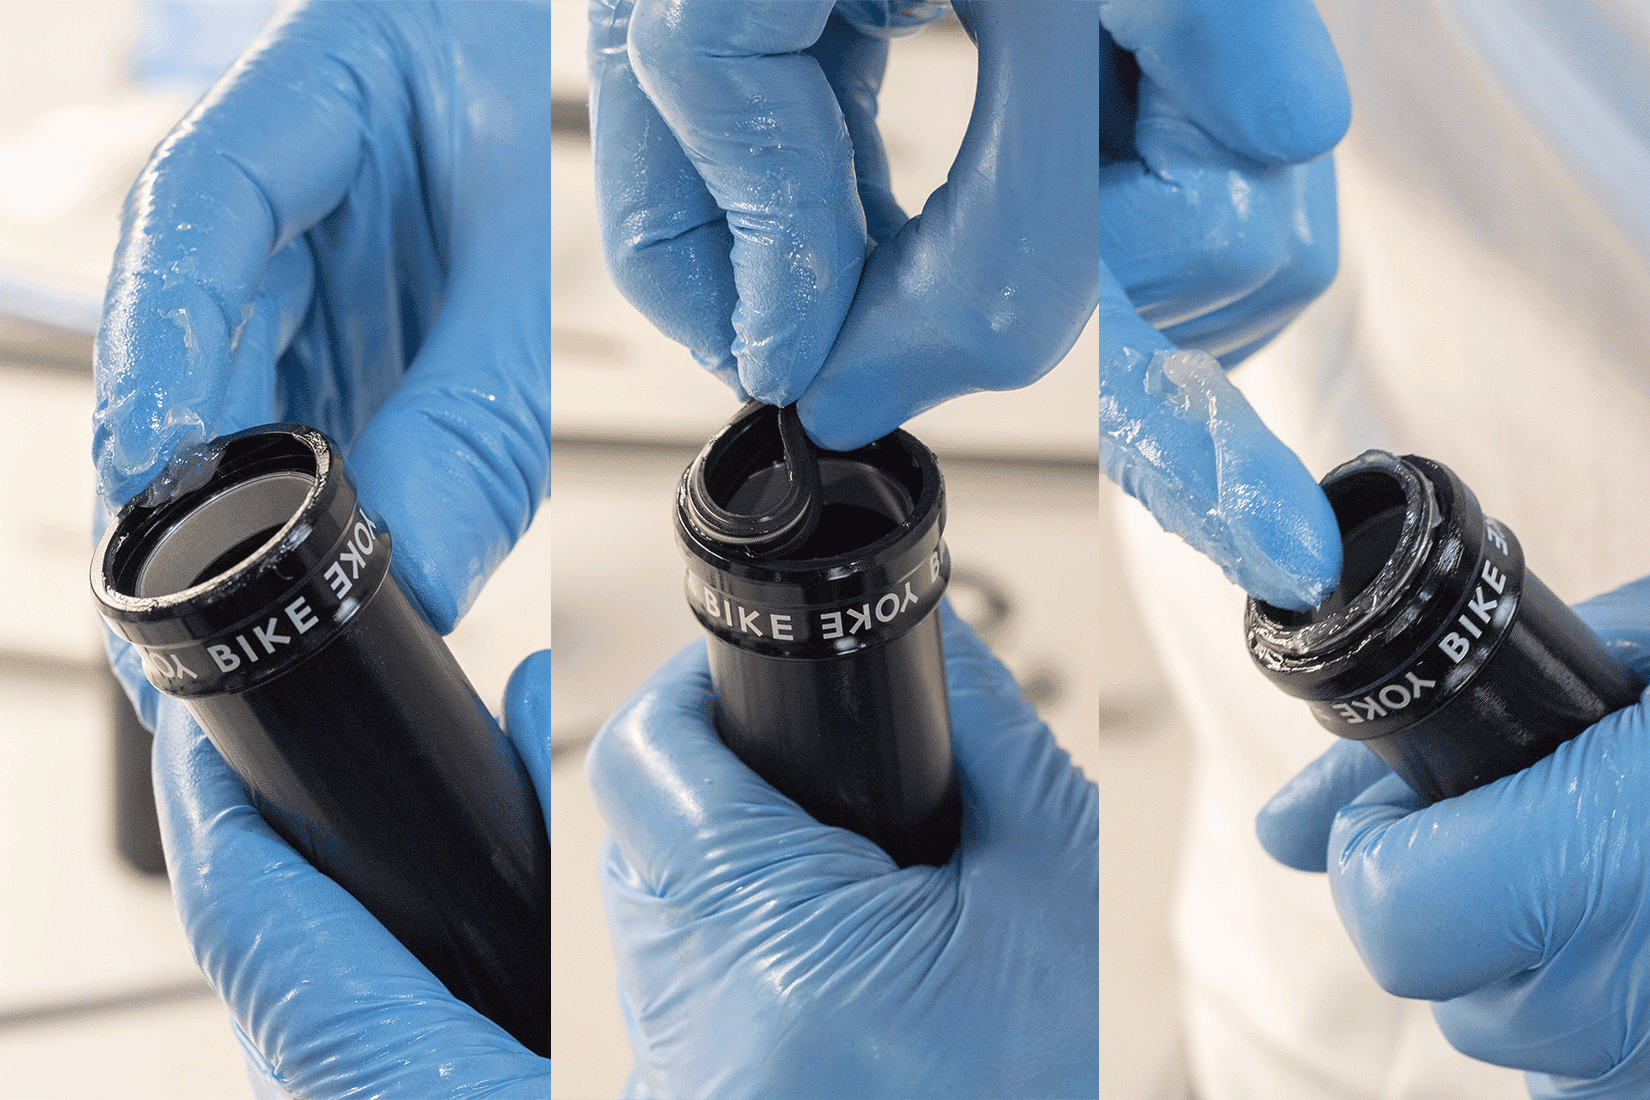
8.
Grease the seat of the wiper with appropriate suspension grease and put it back in place. Then also grease the inside of the wiper.
TIP: Appropriate greases are, for example, BikeYoke Dropper Goo, Buzzy's Slick Honey, Rock Shox Dynamic Grease and R.S.P. Slick Kick
9.
IMPORTANT: Grease the seats of the guiding pins on the upper tube and the milling grooves inside the lower tube.
Then carefully slip the lower tube over the upper tube with the wiper facing forwards and push it all the way onto the upper tube.
TIP: For easier installation and to avoid damaging the wiper, the lower tube should be slid over the upper tube with a careful tilting movement.
10.
Now insert the 6 guiding pins fully into the intended positions between the upper and lower tube.
TIP: Turn the lower tube until the pins can be inserted without much resistance. The actuator rod can also be used as a tool to push the pins into place as far as possible.
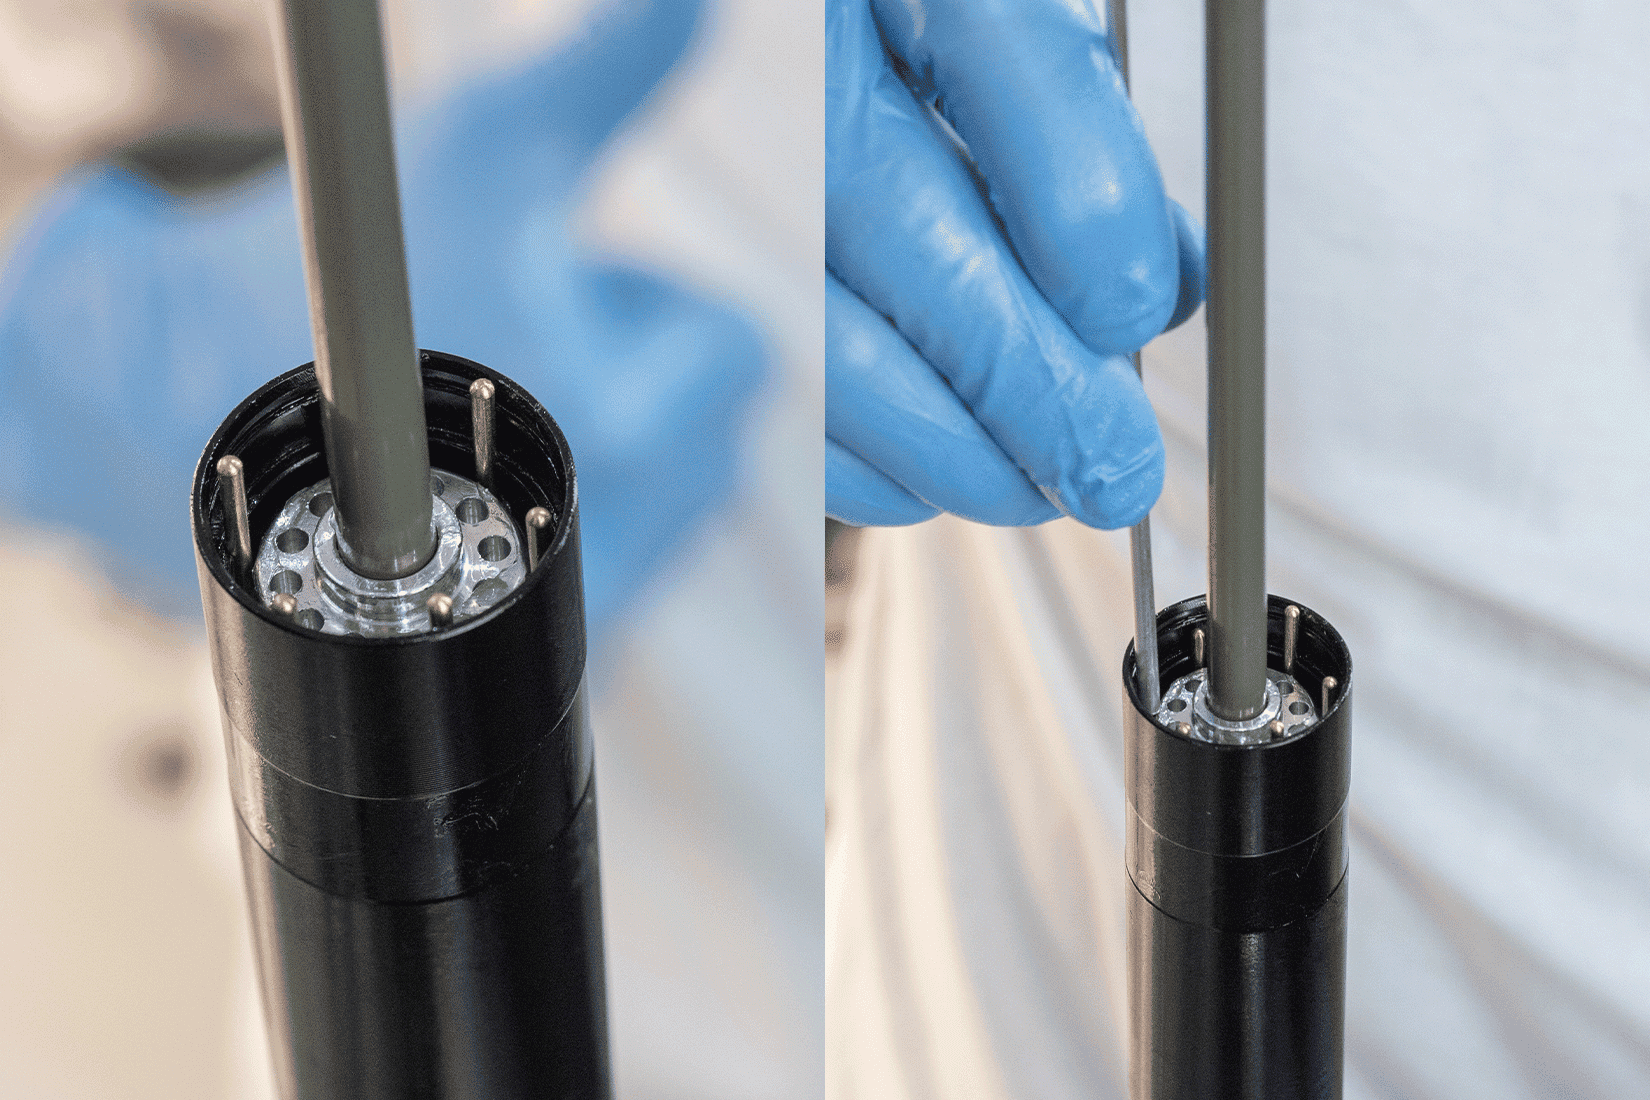
11.
Place the lower bushing over the piston rod and press it fully onto the seal head until the seat for the circlip (DIN471 S12) is fully exposed.
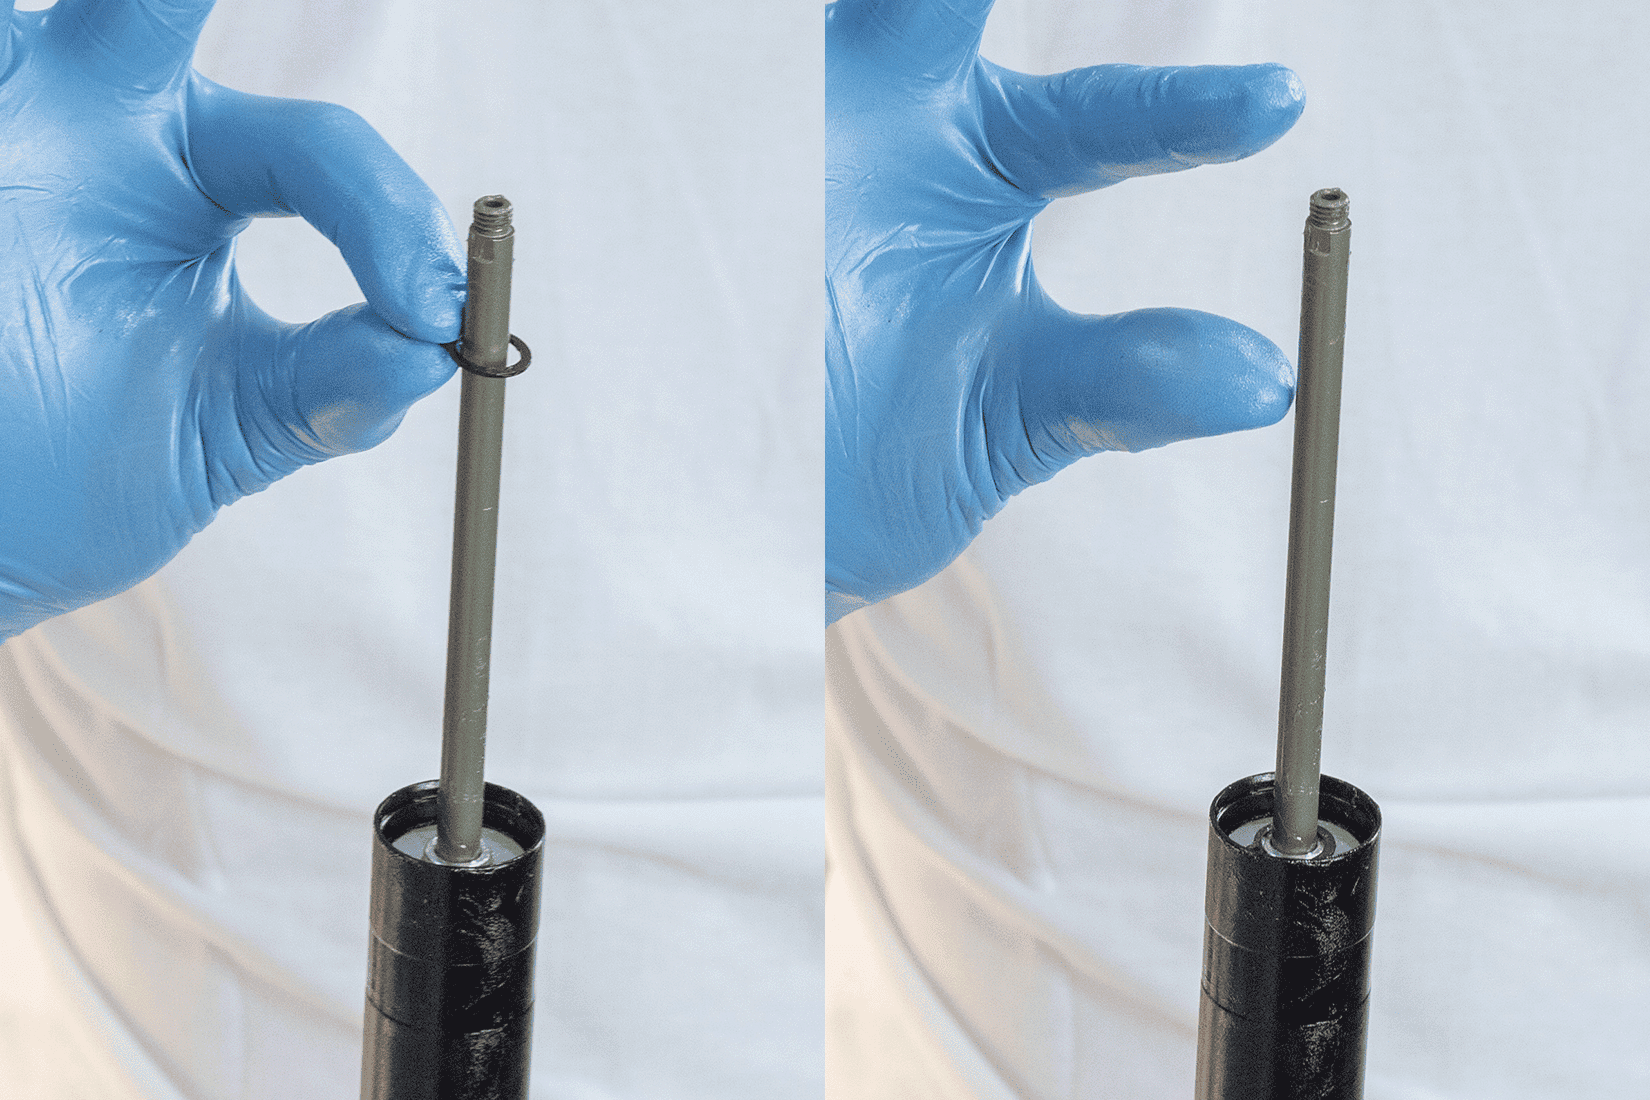
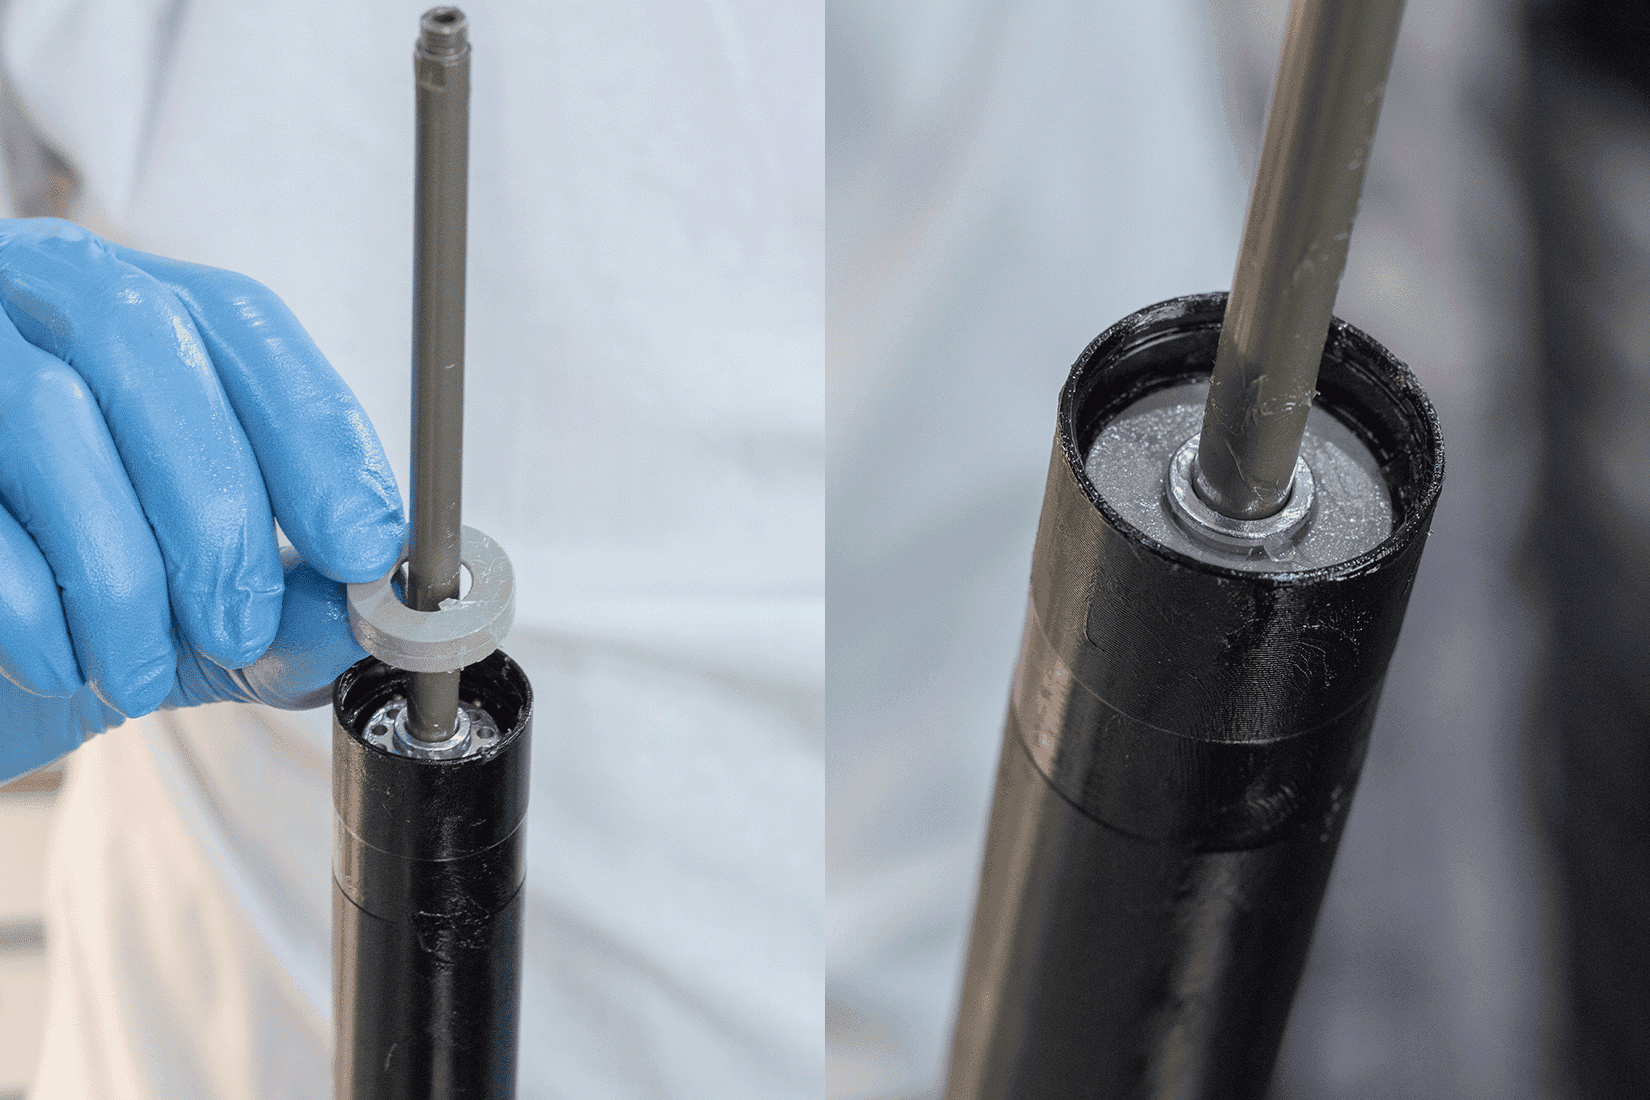
12.
Slide the circlip (DIN471 S12) onto the piston rod.
TIP: To avoid damaging the piston rod, we recommend simply letting the retaining ring drop down as shown in the picture.
NOTE: Circlips usually have one side with sharp edges and one side with rounded edges. In this case, the side with the sharp edge should point towards the foot unit.
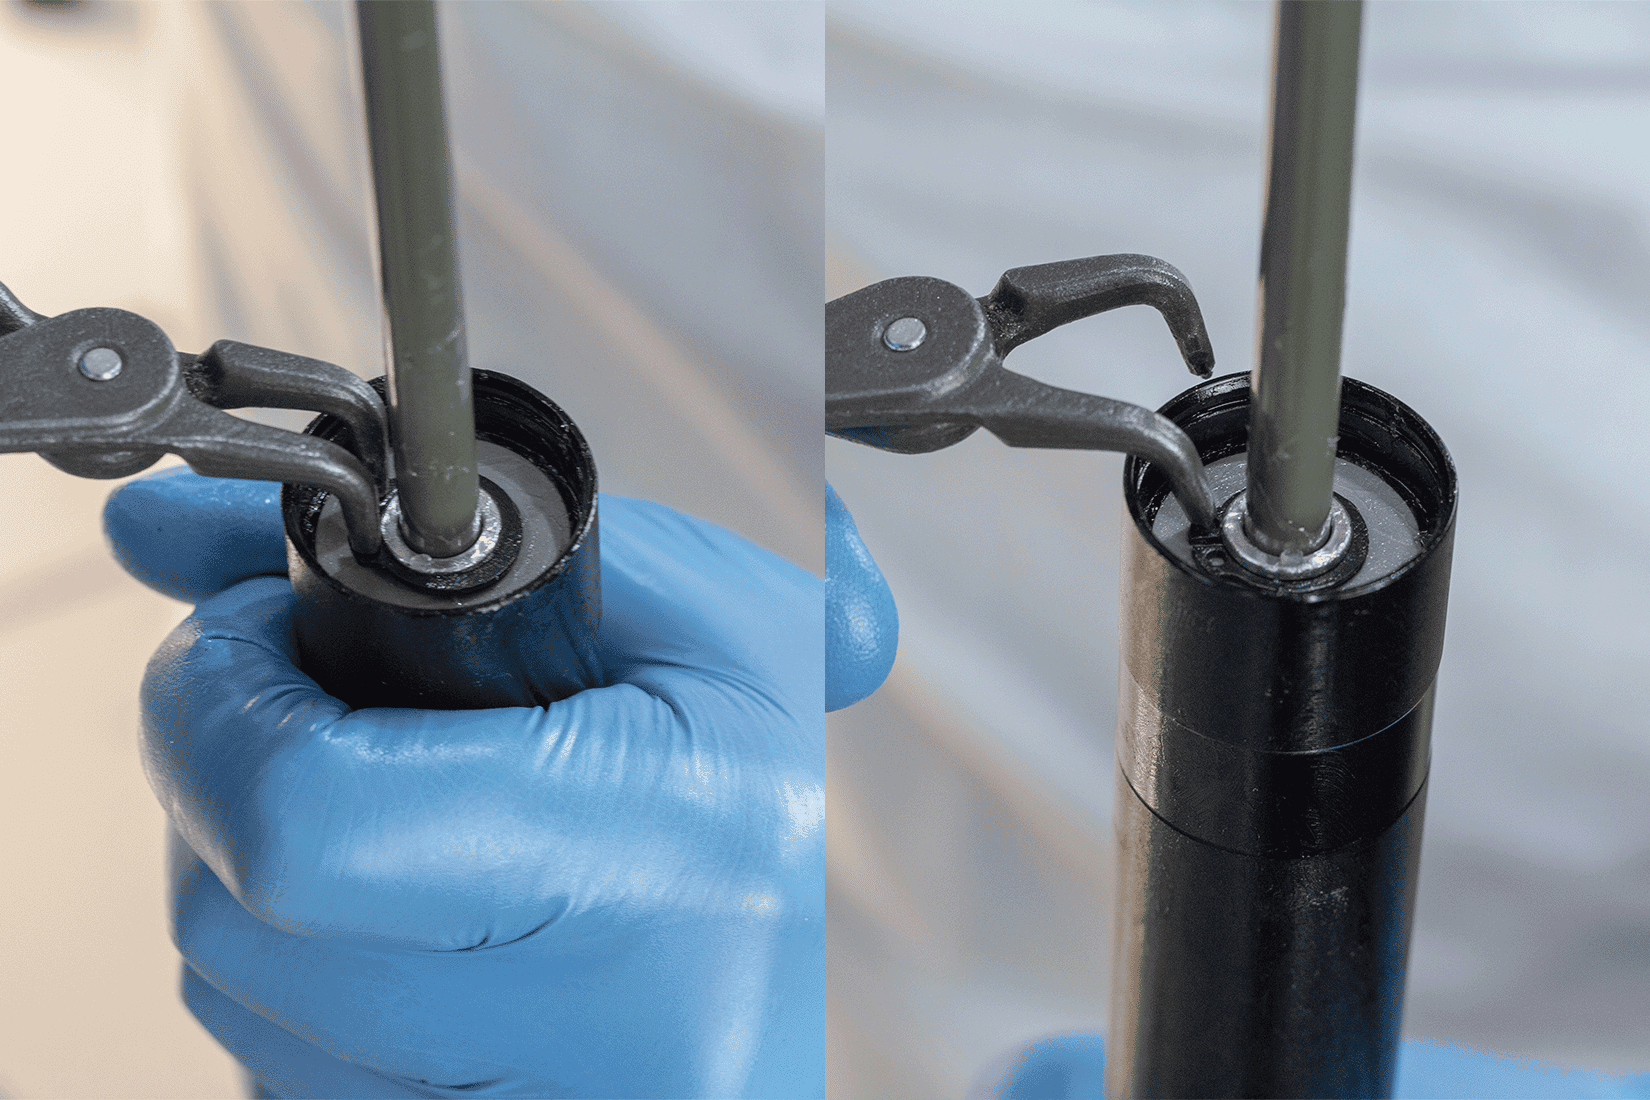
13.
Secure the lower bushing with the circlip (DIN471 S12) and ensure that the circlip is correctly and fully seated.
NOTE: Twist the circlip with one of the pins of the circlip pliers to check again that it is correctly and fully seated.
TIP: To protect the piston rod from damage, we recommend taping the area that the pliers may come into contact with.
Tool recommendation: Knipex 49 21 A11 10-25 mm for outer rings
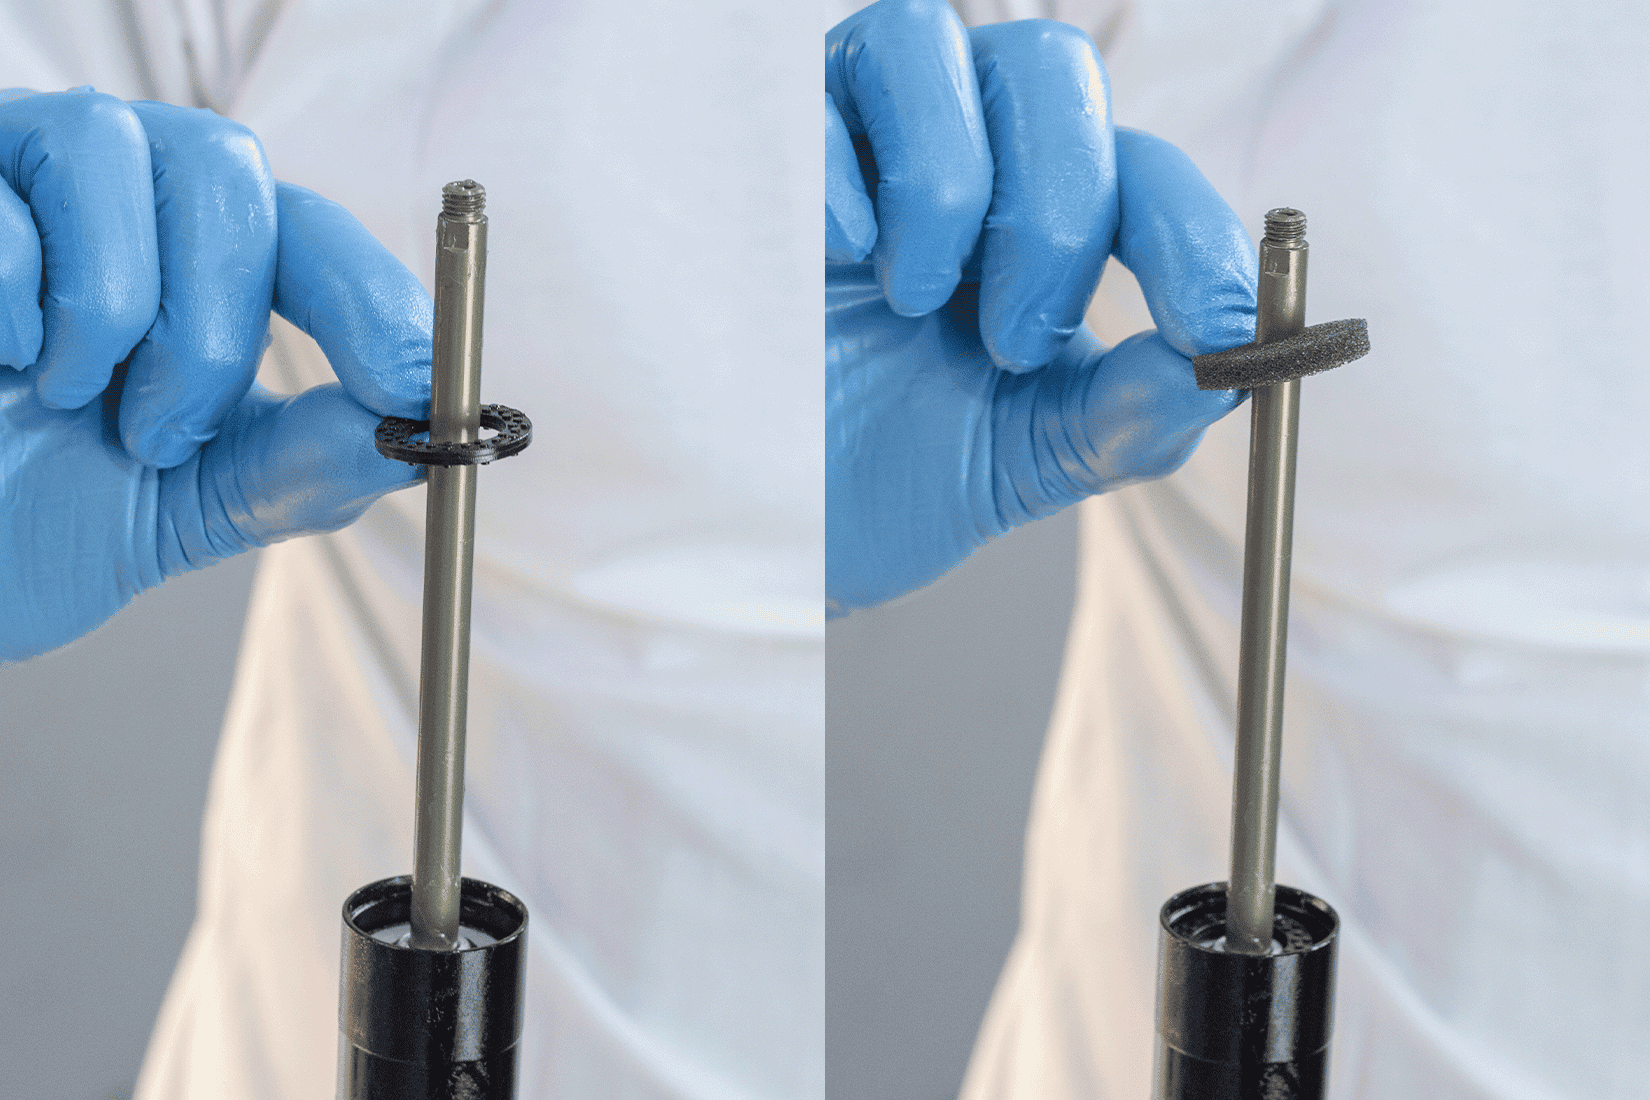
14.
Slide the bottom-out-bumper and then the foam ring onto the piston rod.
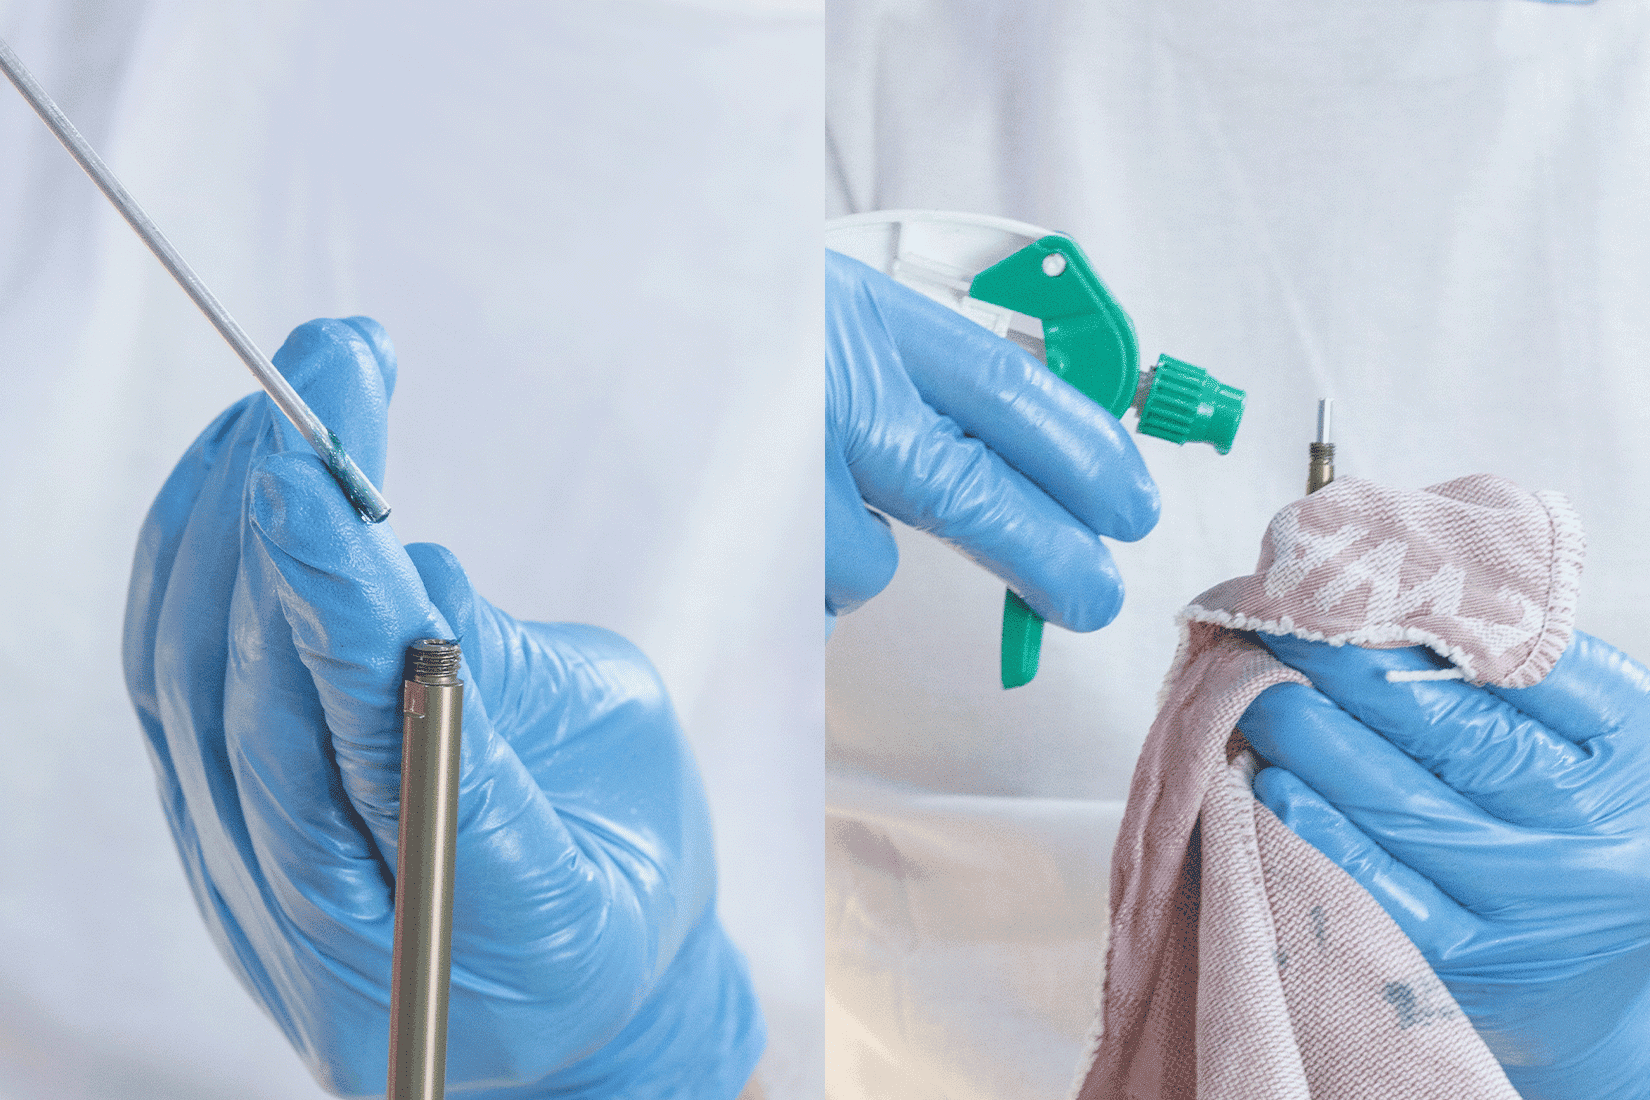
15.
Push the lightly greased actuator rod back into the piston rod and clean the thread of the piston rod thoroughly with isopropanol and remove all grease residues.
Note: Make sure that no isopropanol runs into the piston rod, it is best to apply it only to the cloth you use to clean the thread.
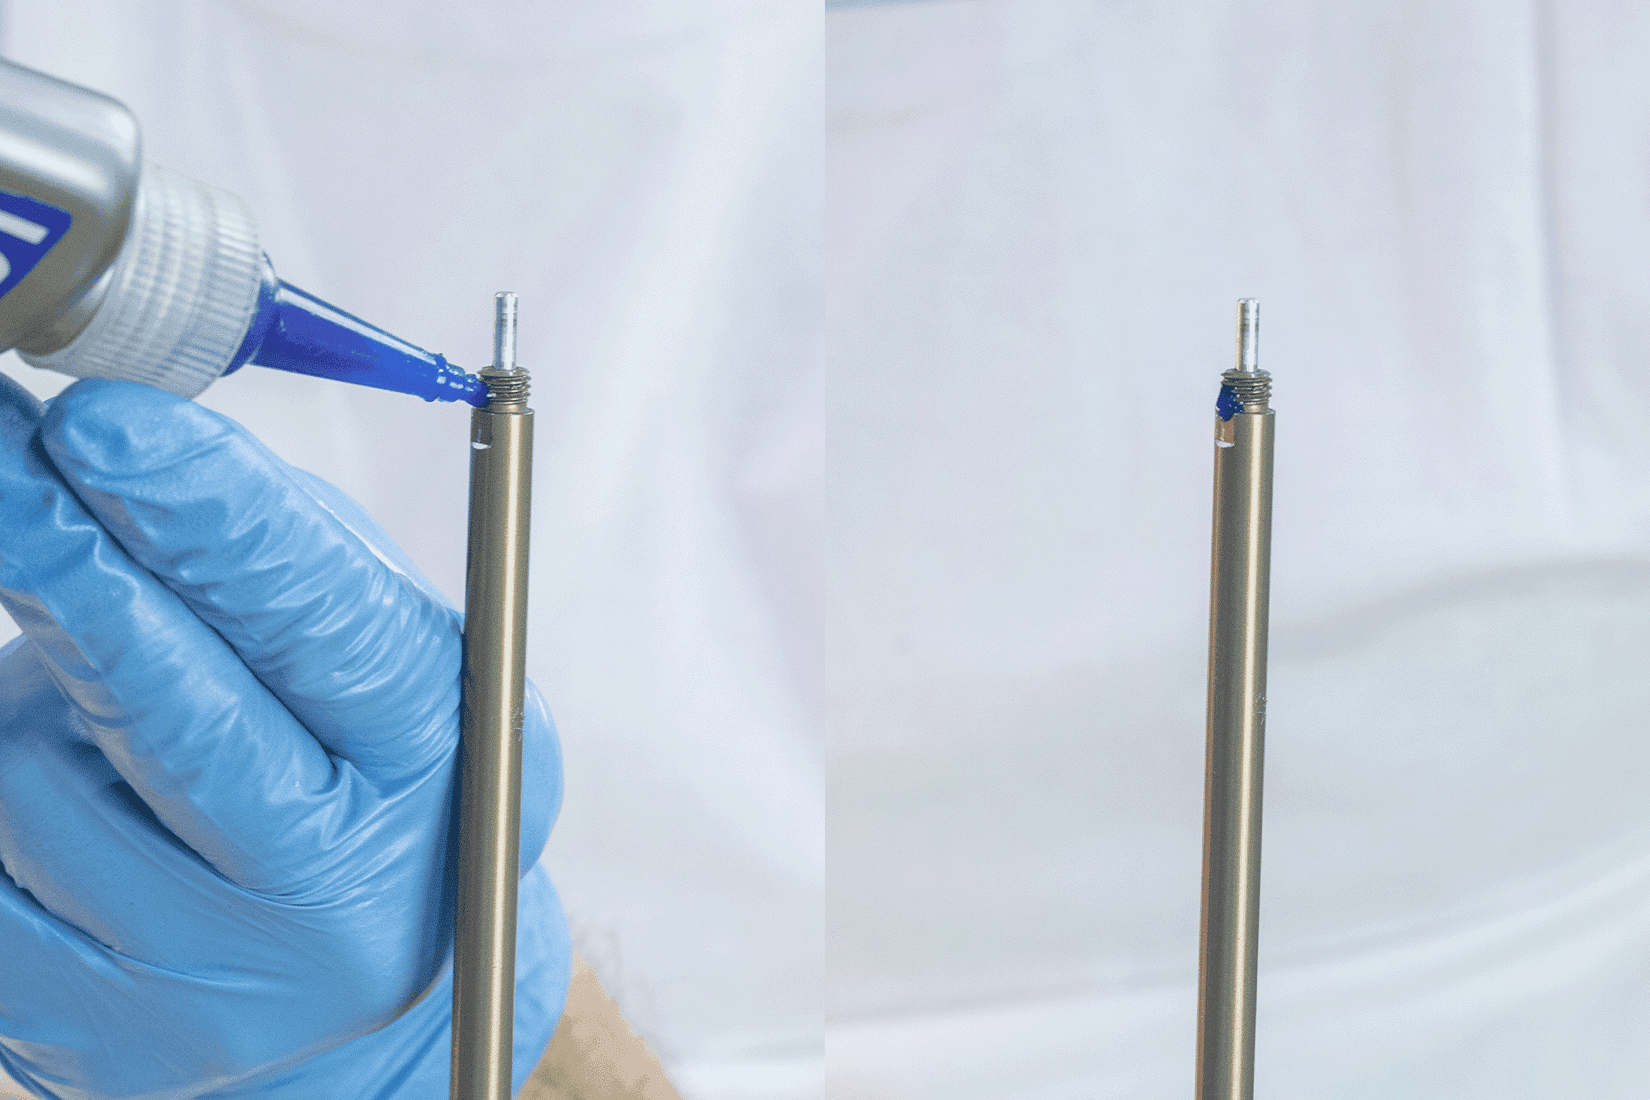
16.
Apply some medium-strength threadlocker (Loctite) to the thread of the piston rod before screwing on the foot unit again.
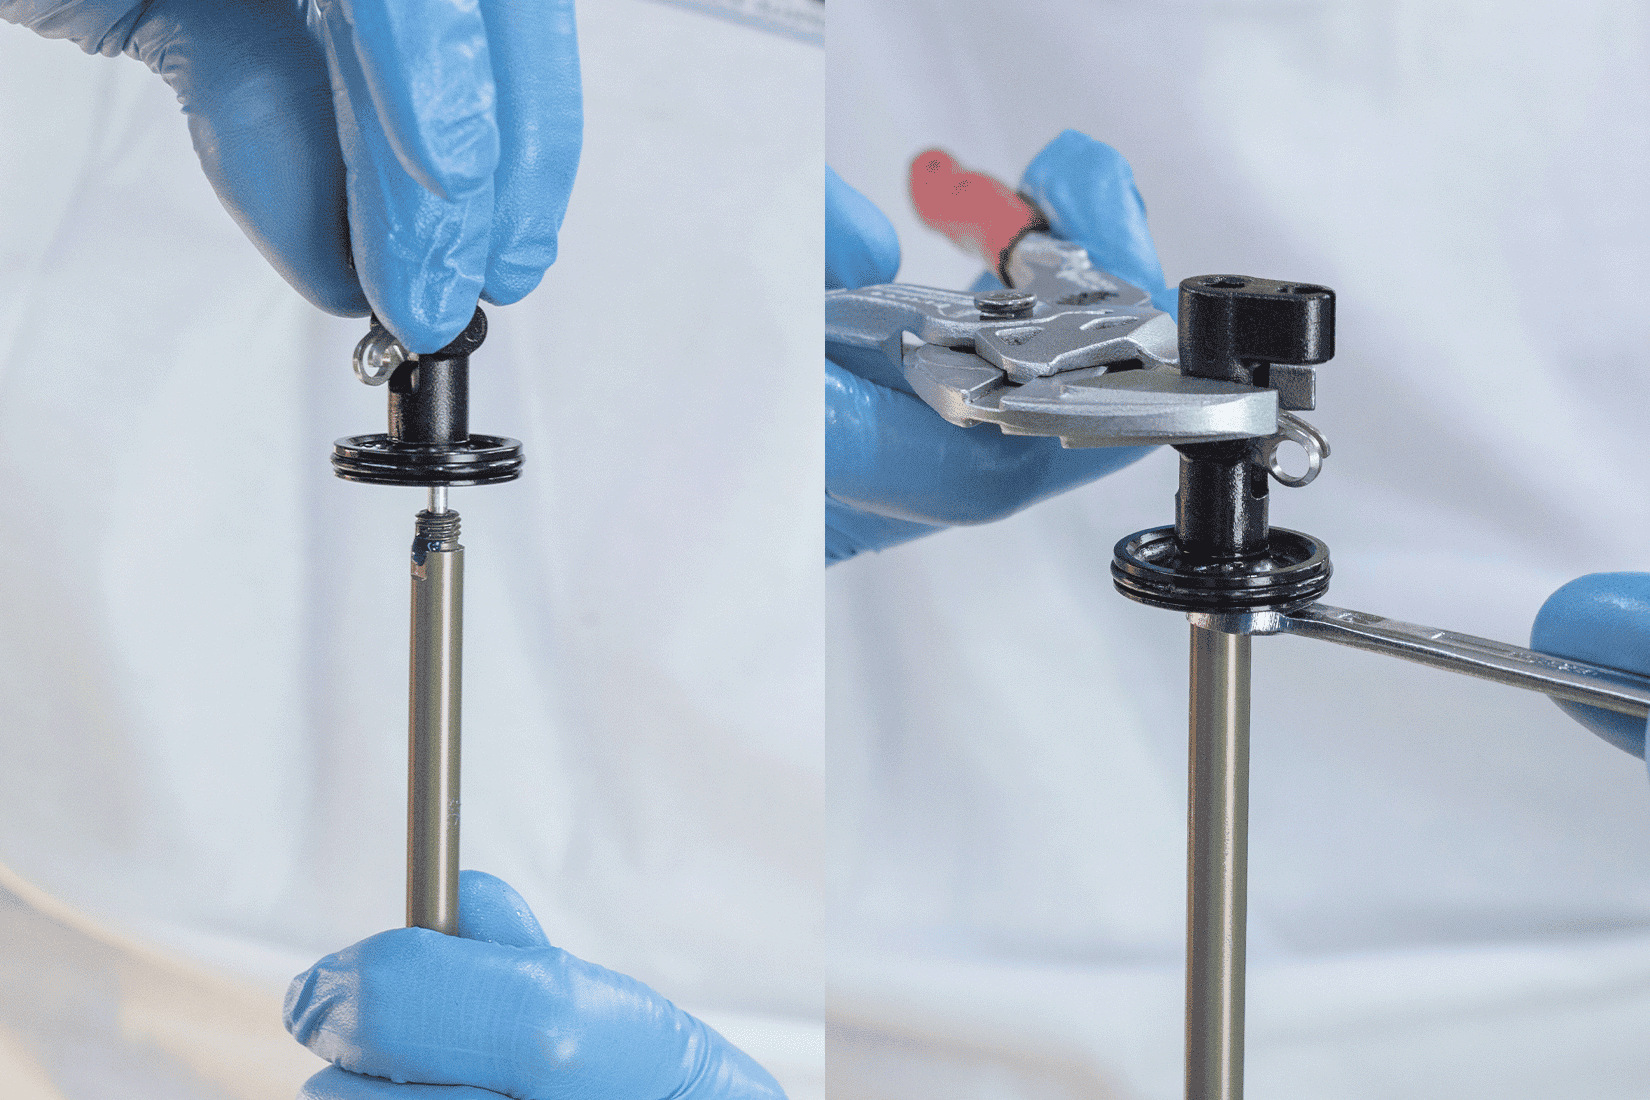
17.
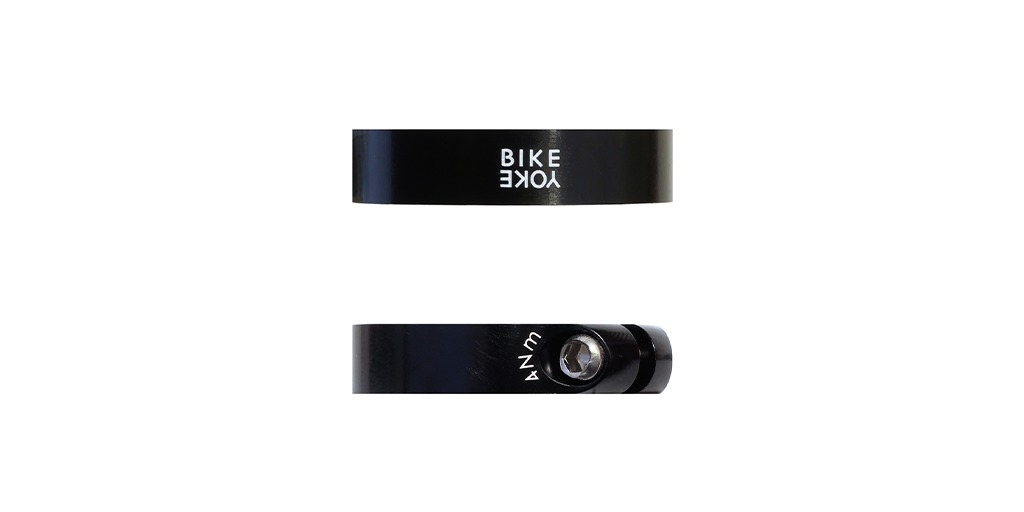
Use a suitable 7 mm and 13 mm open-end spanner and tighten the foot (clockwise) back onto the piston rod.
We specify a maximum torque of 4.5 Nm (hand-tight).
Tool tip: Knipex pliers spanner 86 03 125 and 86 03 180
18.
Push the bottom-out-bumper and the foam ring into the lower tube and then pull the lower tube all the way up until the foot unit fully engages.
19.
Replace the circlip (DIN472 R28) in the lower tube and ensure that the circlip is seated correctly and completely.
NOTE: Circlips usually have one side with sharp edges and one side with rounded edges. In this case, the side with the sharp edge should point towards the foot unit.
Tool recommendation: Knipex 48 21 J21 19-60 mm for inner rings
20.
Twist the circlip with one of the pins of the circlip pliers to check again that it is correctly and fully seated.