Troubleshooting - REVIVE
Please check the following aspects:
Service lower tube
Usually, this problem can be solved with a small service on the lower tube unit. This service should be done annually or after 100 hours, regardless of whether there is a problem.
It should also be ensured that an up-to-date and matching service kit is used for the service, see Service-Kit-Guide
Service Video: https://www.youtube.com/watch?v=J_2kQv7fJbc
Blue lower bushing
Blue lower bushings can swell and therefore increase friction.
Solution: Stop using the blue bushing and replace it with a gray bushing from Service Kit #3.1. Also replace pins and circlip, if needed. If this happens during the warranty period (24 months from purchase), please contact service@bikeyoke.com.
Limited air circulation
To extend and drop the seatpost, proper air circulation must be ensured, otherwise the seatpost may be prevented from extending due to negative pressure in the lower tube.
Solution: Clean or replace the foam ring in the lower tube and check the ventilation holes on the foot unit for clogging and clean if necessary.
Low air pressure
A pressure between 250 and 300 psi should be set on the REVIVE, see oil and pressure specifications
Attention: To check or change the air pressure, the seatpost must be fully extended and upright before connecting a shock pump, see here: https://www.youtube.com/watch?v=E2PdLLmDs44
Excessive seatpost clamping
If the seat clamp is too tight, it can prevent the dropper from extending due to a compressed lower tube.
Solution: We recommend using only enough torque to prevent the dropper from slipping into the frame when you sit on it. This torque can also be well below the standard torque specifications of 5-6 Nm.
Too little cable tension
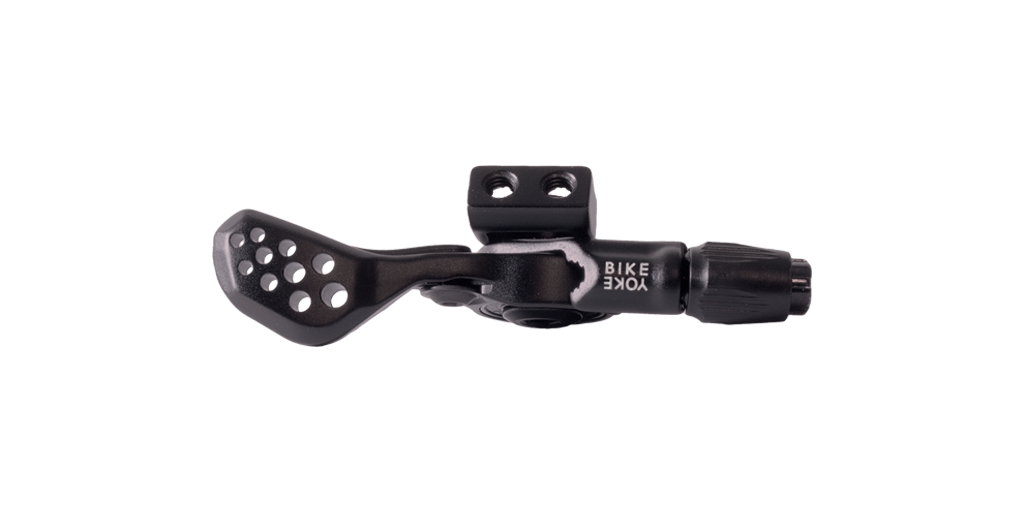
If the cable tension is too low, the mechanism for releasing the seatpost is not fully actuated, which prevents sufficient oil or air flow.
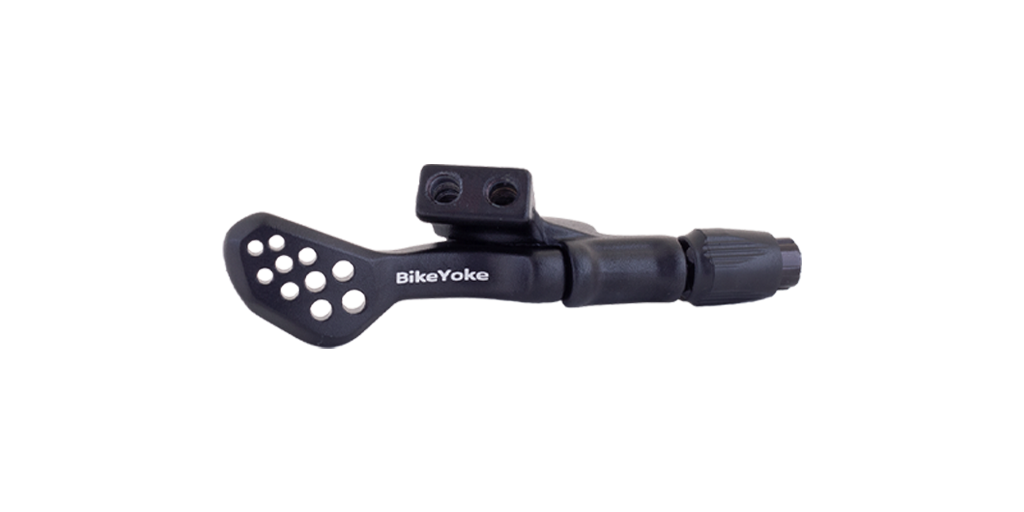
Solution: The cable tension can be corrected on the remote lever of the seatpost. The tension should be increased until the lever has no play.
Note: Service can also be requested at one of our official service centres or dealers, see here:
Loose or broken lower bushing
Usually, this problem can be solved with a small service on the lower tube unit. This service should be done annually or after 100 hours, regardless of whether there is a problem.
It should also be ensured that an up-to-date and matching service kit is used for the service, see Service-Kit-Guide
Service video: https://www.youtube.com/watch?v=J_2kQv7fJbc
Solution: Reinstall bushing, pins and circlip. Inspect parts before reinstallling and replace, if needed.
If a blue bushing was installed do not use it anymore and don't put the post back together with another blue bushing.
Replace the blue bushing with a grey bushing from Service Kit #3.1. If it happens during the warranty period (24 months from purchase), please contact service@bikeyoke.com
A lack of maintenance or improper cable connection can result in the seatpost no longer moving.
Solution: First, remove the dropper from the frame and remove the cable. Then check whether the dropper can be dropped or extended when you actuate it by hand using the actuator lever on the foot unit.
Yes, the seatpost can be extended and compressed:
Make sure that the cable and the cable housing are correctly routed through the frame and that the cable is properly connected to the foot of the seatpost. Also check that there is sufficient tension on the remote lever to fully actuate the actuator lever of the seatpost.
No, the seatpost can neither be extended nor compressed:
Remove the lower tube and check the components for damage or wear. If single parts show visible damage or wear, we recommend replacing them, s. spare parts
Service video: https://www.youtube.com/watch?v=J_2kQv7fJbc
If all parts show no signs of damage or wear, a full service on the cartridge should be done to check all seals and parts for wear or damage and replace them if necessary.
Service video: https://www.youtube.com/watch?v=YP3oPvRRomQ
Note: Service can also be requested at one of our official service centres or dealers, see here:
A reset may have to be done more frequently if the bike is stored hanging or upside down or transported in a car.
If this is not the case, it may also be an indication of a worn seal, which should be replaced as part of a cartridge service, s. https://www.youtube.com/watch?v=YP3oPvRRomQ
Note: As long as a reset does not have to be done repeatedly during a ride, but only once before leaving, this is perfectly fine and no cause for concern.
Note: Service can also be requested at one of our official service centres or dealers, see here:
Incorrect resetting procedure or too low an oil level due to oil loss can result in vertical play not being remedied by resetting.
Solution: Repeat the reset and make sure that you follow the correct procedure and the correct order of the single steps.
- use Allen key and open the reset valve
- slowly drop the seatpost while the reset valve is still open
- release the reset valve
- extend the dropper by the remote (do not extend using the reset valve)
If this does not solve the problem, it must be necessary to check the oil level for the correct volume and, if necessary, replace the seals that have caused the oil leakage.
Service video: https://www.youtube.com/watch?v=YP3oPvRRomQ
Note: Service can also be requested at one of our official service centres or dealers, see here: https://bikeyoke.com/en/StoreLocator?distance=25&%3Border=distance&order=distance
An incorrect actuation or a defective seal can cause the seatpost to drop under load without being actuated (no bouncing!).
Solution: First, remove the seatpost from the frame and remove the cable. Then check whether the seatpost can also be compressed under load outside the frame without actuation.
Yes, the seatpost can be compressed:
Make sure that the actuator lever at the foot of the seat post returns correctly to its original position after actuation.
If this is the case, it indicates a defective seal that needs to be replaced as part of a cartridge service.
If the actuator lever does not return or gets jammed, it should be thoroughly cleaned and greased.
No, the seatpost cannot be compressed:
Make sure that the cable and the cable housing are correctly routed in the frame and that the cable is properly connected to the foot of the seatpost and reduce the cable tension on the remote if necessary.
Moreover, you should make sure that the actuator lever does not make contact with the inside of the frame and get stuck, which can lead to constant actuation of the seatpost.
Note: Service can also be requested at one of our official service centres or dealers, see here:
A incorrect actuation or a defective seal can cause the seatpost to extend by itself.
First make sure that the actuator lever on the foot of the seatpost returns correctly to its original position after actuation.
Solution: First remove the dropper from the frame and remove the cable. Then check whether the seatpost also extends on its own outside the frame without being actuated.
Yes, the seat post extends on its own:
If this is the case, it indicates a defective seal that needs to be replaced as part of a cartridge service.
If the actuator lever does not return, it should be thoroughly cleaned and greased.
No, the seatpost does not extend on its own:
Make sure that the cable and the cable housing are correctly routed through the frame and that the cable is properly connected to the foot of the seatpost and reduce the cable tension on the remote if necessary.
Moreover, you should make sure that the actuator lever does not make contact with the inside of the frame and get stuck, which can lead to constant actuation of the seatpost..
Note: Service can also be requested at one of our official service centres or dealers, see here:
Strong temperature fluctuations (from cold to warm) can lead to increased oil pressure being exerted on the release mechanism.
Solution: To prevent damage to the remote or the quick reset lever, we recommend actuating the reset valve on the head of the seat post once using a 4 mm Allen key. This will equalise the pressure and the post should then be able to be operated normally again.
Tip: This phenomenon can be prevented by lowering the dropper slightly before storing it so that the oil can expand.
A sluggish remote lever is usually due to a problem with the cable routing or the actuation on the foot unit of the seatpost.
Solution: Check the cable housing for kinks or tight loops, especially if the cable is routed through the headset. Also check the actuator lever on the foot of the seatpost for ease of movement.
It may be helpful to use a friction-optimised cable set to make it easier to actuate the seatpost, s. here
The actuator lever on the foot unit (cable connection) of the dropper does not return or is jammed.
Solution: Clean the foot section thoroughly and check for ease of movement of the actuator lever. Then apply assembly grease on the actuator lever. We recommend using a thick, viscous grease.
You should also make sure that the actuator lever does not make contact with the inside of the frame and therefore gets stuck.
Tip: The foot unit can be rotated 360° clockwise to achieve a better position.
In general, a loss of pressure on our seatpost is very rare. The reason for this can be a loose valve insert or a defective o-ring.
Solution: Check valve insert for tight fit. Replace o-rings if necessary.
Note: Please note that when connecting the shock pump, air will initially flow from the seat post into the shock pump, which will result in a lower pressure being displayed on the pump than was originally set.
Attention: To check or change the air pressure, the seat post must be fully extended and upright before connecting a shock pump, see here: https://www.youtube.com/results?sp=mAEB&search_query=air+pressure+revive
On the REVIVE pressure should be set between 250 and 300 psi.

